


My typical landscape photography setup - filters and all
I get this question alot
And there is the assumption that’s filters are dead because of photoshop and other filter effects. But a lot of filters are still relevant, some are very necessary and others are a bit novelty.
When I first got into photography it was the transition period between film and digital, and a different type of filters were used. Film cameras didn’t have the white balance button that we now take for granted, and to compensate for different lighting conditions it was standard to put a coloured filter in front of the lens to fix the situation. Imagine a time when there’s was no photoshop and you had an urge to create sunset where there was no sunset happening, create a star burst out of every light source, make a reflection of a building where there was no water in the foreground - Cokin had you covered!

Image courtesy of Cokin
Of course things have moved in since then, so how relevant are filters in 2019? Let’s talk about photography first.
Types of filters
The most common types of filters are neutral density filters, UV filters and polarising filters. Let me tackle UV filters first, as this sparks a lot of debate amongst photographers. I have never met anyone that has convinced me that having a UV filter improves the quality of a photograph. People typically use UV filters to protect the front element of their lens, but you can’t put a cheap UV filter in front of an expensive lens, it defeats the point! Good filters of a decent size, say 77mm, are expensive. Are you willing to spend £50+ for every single one of your lenses? I personally don’t subscribe to the idea of protecting the front element of my lens via a filter, I just take care of my gear and I have the added security of a lens hood on all of my lenses. Each to their own, but UV filters are not for me.
Polarisers

105mm Polariser from Formatt Hitech
Next up is the polariser. The only filter that can’t really have its effects recreated in photoshop. This piece of special glass removes/controls reflections, glare and as a result allows you to shoot water, windows and skies with greater clarity. A typical polariser will absorb around two stops of light, so in low-light you may have to change your setting accordingly or put your camera on a tripod. Polarisers are always circular, because you turn them to control the amount of polarisation; which is controlled/influenced by your position in relation to the sun. If shooting landscapes or anything that includes the sky (with a wide angle lens) you need to be careful using a polariser because one side of the sky will be darker than the other (because of how polarisation works with the angle relative to the sun). I typically don’t shoot any wider than 24mm with a polariser. I do however use my polariser for long exposures combined with my ten stop filter, more on that later.
Neutral Density
You will need to protect your filters with a good case, to stop sand & dirt ruining your lenses also
And finally, neutral density (ND) filters. These are like sunglasses for your camera. There main purpose is to reduce the amount of light hitting the sensor, so that you have more creative control over the shutter speed. They call them neutral, because they are not meant to introduce any colour casts, but the fact is that even the best still add a slight colour to your images. ND filters come in two flavours, solid and variable. These are always square, and they vary in size depending upon camera and lens setup that you have. I use the 100mm system, which you will need a filter holder system for (see below). The solid filters come in various strengths, but ‘they’ complicate things further by callling them ND2, ND4 and ND8 and/or 0.3, 0.6 and 0.9. In the same order, these are the same as a one stop, two stop or three stop filters. And if you don’t know what a stop is, it is when you half or double your shutter speed. I personally use Lee filters and Hitech filters, you definitely get what you pay for and I would strongly avoid cheap filters, as above there is no point in having nice lenses and putting cheap filters in front of them.

Lee filters have a reputation for good quality filters. They are a type of resin (not glass) but still highly recommended
The second flavour of ND filters is a graduated filter. These are darker on one side and clear on the other. This is typically used for landscape photography, or other genres that include the sky or one part of the image that is significantly brighter than the rest. The darker top part of the filter balances out the exposure for the sensor, which you can adjust within the filter holder to suit the position of the horizon. Graduated filters come in soft or hard edge, which simply dictates how fast it blends from dark to light. Hard edge filters are better for if you shoot landscapes with nothing interrupting the horizon, whereas soft edge gives you enough leverage to put a subject (such as a pier) on the horizon and not darken it too much. There are other filters, which I am aware of but haven’t used or purchased; mainly a reverse ND filter. This is darkest on the horizon (ideal for when the sun is going up or just setting) and brighter towards the edge of the frame. I can see the logic in this, as the horizon is where the sun is at its brightest, I have just managed without one so far….

A hard-edge two stop variable ND filter from Lee. They put the date it was made in the top left
Long exposure filters

Filters allow me to create photos that are minutes long - here a 4 minute exposure of Durdle door
These are also ND filters, but they are often referred to as long exposure filters. The aim of these filters is to create an exposure long enough to blur people, cars, clouds and my favourite subject….water. The ‘little stopper’ is 6 stops, the ‘big stopper’ is ten stops and I own a Hitech filter that is a whopping 16 stops. To give you an idea of what all of these numbers mean, if the sun is starting to go down and your camera says that your shutter speed should be 1/8th second, chuck on a ten stop filter and bam, you have a 2 minute exposure! You have to pick the right filter for the job though, because the 16 stop filter would require 2 hours 16 minutes to correctly expose the same scene! Once again, I have experience of Lee & Hitech filters and I would recommend them; but there are a lot of other good filter companies on the market nowadays.

16 Stop filter from Formatt Hitech - this is a glass filter. The human eye can only just about make out the sun through this filter, it is so strong
Other filters

The infrared filter that I stared with
There are other filters that I haven’t mentioned above. Of course there are infrared filters that I have written another blog about, link here. The remaining filters that I have not mentioned I would describe as novelty, very much like a digital filter that you can apply afterwards. A very long time ago I used to use a softening filter that used to give the subject a lovely glow about them, but it makes the images look very dated now!
Filter Holder Systems

Formatt Hitech’s 100mm filter holder. It is metal, and well made - but since the holder is not in the optical chain it doesn’t influence the quality of the images - which filter holder you use is personal preference.
Circular filters don’t need a holder system, but you can only use one and they become fiddly and can become stuck. I started long exposures using a B+W circular ten stop filter, but the problem is that your camera cannot see through the filter at all. You therefore have to compose the shot, focus etc before you put the filter on. If you want to adjust the composition or fix the horizon, you need to unscrew the filter and start over. The most obvious solution is to buy a filter holder system. This allows all of your filters to be removed in one easy step. Planning ahead, if you think that you will ever step up to full frame (or you already shoot full frame), then you should invest in the larger 100mm filter system. Smaller systems are available for cropped sensor cameras that don’t have such large lenses. The filter system attaches to your lens via a filter ring, which you buy the size to fit your filter thread size on your lens. Note that there are wide angle versions which have a slightly recessed thread to help avoid the filter appearing in your photos when shooting really wide. The filter holders typically hold 3 square filters, and I have the optional polariser on the front. The reason for this is that you need to be able to turn the polariser independently of the the filters, which means that it goes on the front and it is a massive 105mm diameter filter!
The future of using filters
Companies are getting innovative. Filters are going in modern lens adaptors in front of the lenses, Wine and Country have reinvented filters and how we use them. I don’t think that filters are going anywhere, because cameras are still quite a way off seeing the dynamic range that the human eye can. There are some that have inbuilt HDR modes, but they never seem to hit the mark for what I want to produce. Plus, photos are meant to have highlights and shadows - people forget this. If you have a photo that has no shadows and off white clouds it definitely lacks punch!

In-camera HDR options
Should I use filters for landscapes anymore?
There is a school of thought that because everything is digital, there is no need to “get it right in camera.” The classic is “I will fix it in post”. I too admin to a small amount of, maybe I won’t remove that distracting bit of rubbish from my shot, I will let content aware take care of it when I am back on the machine later. But it would be easy to just move it there and then. Getting back on track with filters, the options with dynamic range and trying to control the exposure in the final image is to either use filters or bracket your photos and merge them in post processing. Filters will get it right in camera, but there is a limit to what you can do.

Image courtesy of HDR Soft - the company that make Photomatix - the original HDR software. Since then, many plugins have flooded onto the market to blend multiple expsoures together; and don’t forget Photoshop also has this feature built in.
Typically if I am stacking a 2 stop and a three stop grad filter over the sky to match the exposure of the foreground, then it is probably too contrasty to be taking photos; that is my opinion anyway. The more filters you stack on top of each other, the more chance of dust spots and flare from the sun. If I am shooting long exposures of a landscape I would personally limit it to three filters, a grad filter, an ND and a polariser, that is the max for me.
Now, the other train of thoughts from many respected landscape photographers is that we should do away with filters, bracket our exposures and blend them later. Filters are ‘destructive’ in as much as you cannot fix the effect afterwards in post. If you graduate or polarise a scene using filters, that is baked into the raw file. Because you are looking to capture everything in one shot, you are limited by the dynamic range of your camera, which varies from system and camera model. But by bracketing you can have all of the shadows and all of the highlights spread across multiple files; you can later pick and choose which ‘bits’ you want to use in your editing software of choice. Old school users of high dynamic range (HDR) editing would use photomatix, as I did back in the day, but natural effects are difficult to achieve. You could use layer masks in photoshop, a very manual blending process, or luminosity masks. Whether you choose to go down this route is up to you. It makes sense, as editing software will continue to get better and better. Perhaps do both if you have the time? But shoot raw for the maximum latitude in editing later.
Filters for video
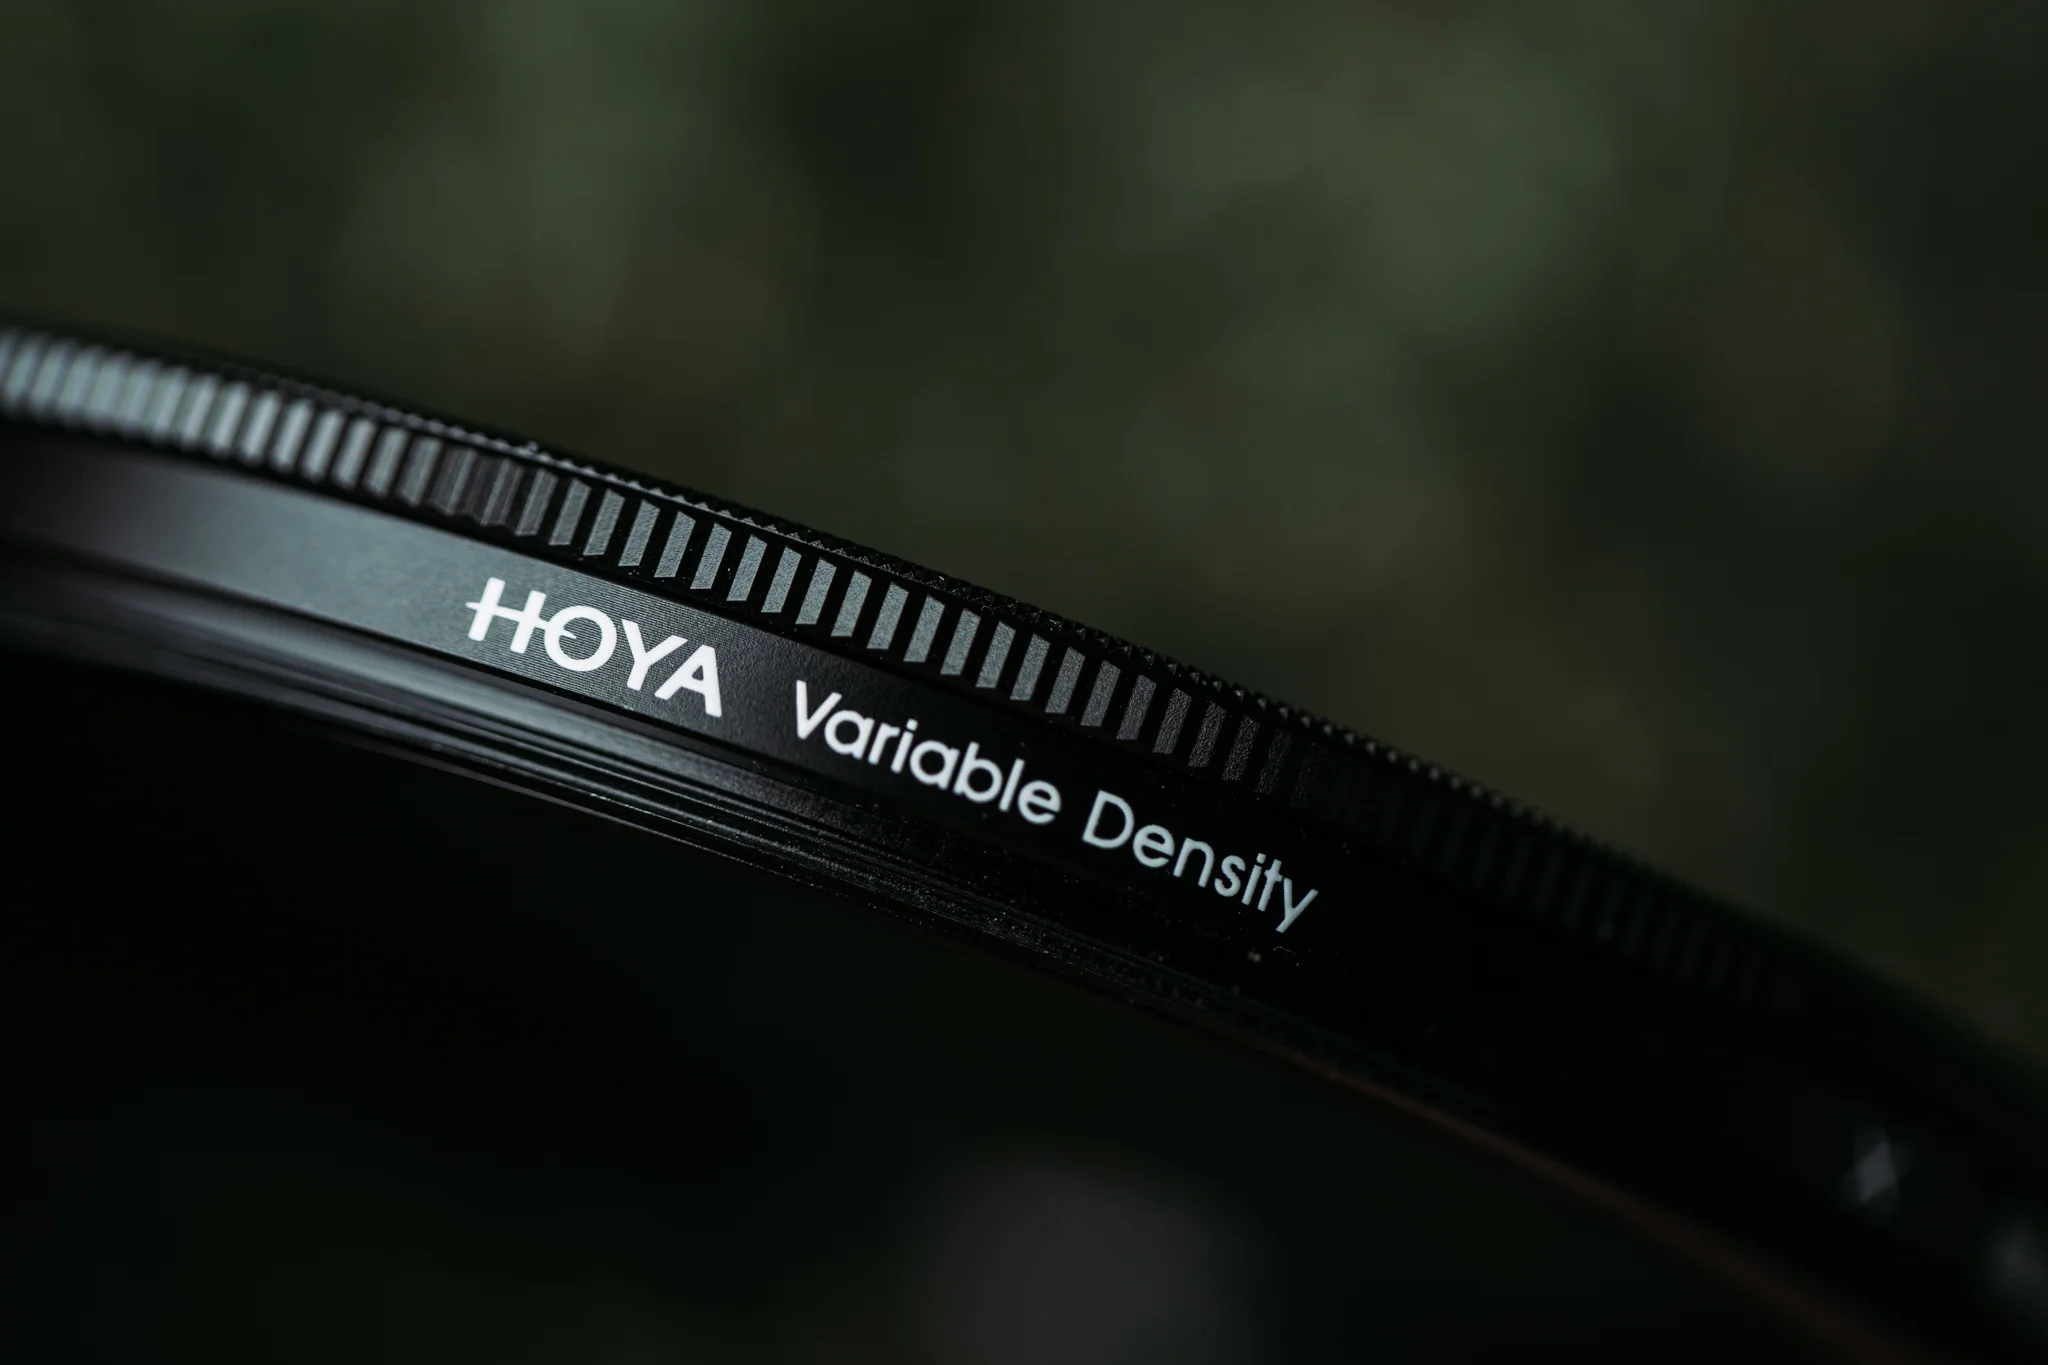
A very necessary filter for shooting video.
This is relatively short, because I only ever use one filter for video, typically when I am outside. A guide to shooting video will be covered in a separate blog, but let me just tackle the basics here. Unlike shooting stills, there is no option to shoot with a fast shutter speed when making video. You can, and it is stylistic, but it is unconventional and makes your videos look like an action movie. It is jittery, almost strobe-like at fast shutter speeds. On that basis, in bright conditions at ISO 100, you need to achieve a shutter speed of 1/50th sec; unless you intend on creating slow motion footage. If you want to shoot at f2.8 then you are certainly going to need a filter to achieve 1/50th sec outside, this is where filters are your friend. What you are looking for is a variable ND filter. This is quite simply two polarising filters attached to one-another, which you can turn to go from limited effect to almost black. I say almost black because at the extremes you get an ‘X’ effect which you definitely want to avoid. This is why there is still a limit with shooting large apertures outdoors, because you may still not be able to juggle the exposure triangle with ISO 100, 1/50th at f1.8. You could add another solid ND filter, but this is not something that I have tried, I typically stop down to say f4 and we are good to go.
Which size variation ND should I get?

Larger filter thread sizes are more expensive, but you only need one if you buy an 82mm.
The mistake that I made was to buy a 72mm variable ND filter for my Sigma 18-35 f1.8, which was my go to lens for video, but then I had no variable ND filter for some of my L-series lenses that are 77mm. The advice here is to buy a 77mm, or even a 82mm (if you own some lenses with that filter thread size) and use adaptor rings to step down for smaller lenses. Yes, it does look a bit ridiculous if you put an 82mm filter on a 50mm f.8 lens that has a thread size of 49mm, but it will save you money in the long term, and you will only ever have to carry one filter around with you when making video.
That is it for filters, hopefully you got something from this. Let me know if you have any questions.
Thanks for reading.
Ben
