How to create long exposures
Long exposures used to be a necessity in photography, since photographic medium was not as sensitive to light as modern film/sensors are. The first photograph ever taken was of a building, since it was a static object - it didn't matter if it took several minutes to capture.
Today, long exposures are another option in the photographer's armoury. Similar to HDR, extreme long exposures divide opinion in photographic circles. I personally love the look of them, however it is not to everyone's taste.
To get a 'correctly' exposed photograph, you need to juggle the settings of the ISO, aperture and shutter speed - however we don't want to compromise the quality of the end photograph in order to achieve a long exposure. The easiest way of achieving a longer exposure (say 30 seconds or more) is to go out in the first or last hour of the day. For landscapes this is going to be best best quality of light anyway. You would be able to achieve a reasonably long exposure without the use of any filters just as the sun comes up, or is dipping to the horizon.
Ideally, your camera should be set at your cameras lowest ISO setting, which is ISO 100, and an aperture of between F8-F11. This is the best aperture settings for optical quality, and is where your lens performs best. If you decrease the size of the aperture to something like F22, you will find that your images will lose sharpness, and if you have any dust on your sensor/filters it will show up. Less time cloning these out the better!
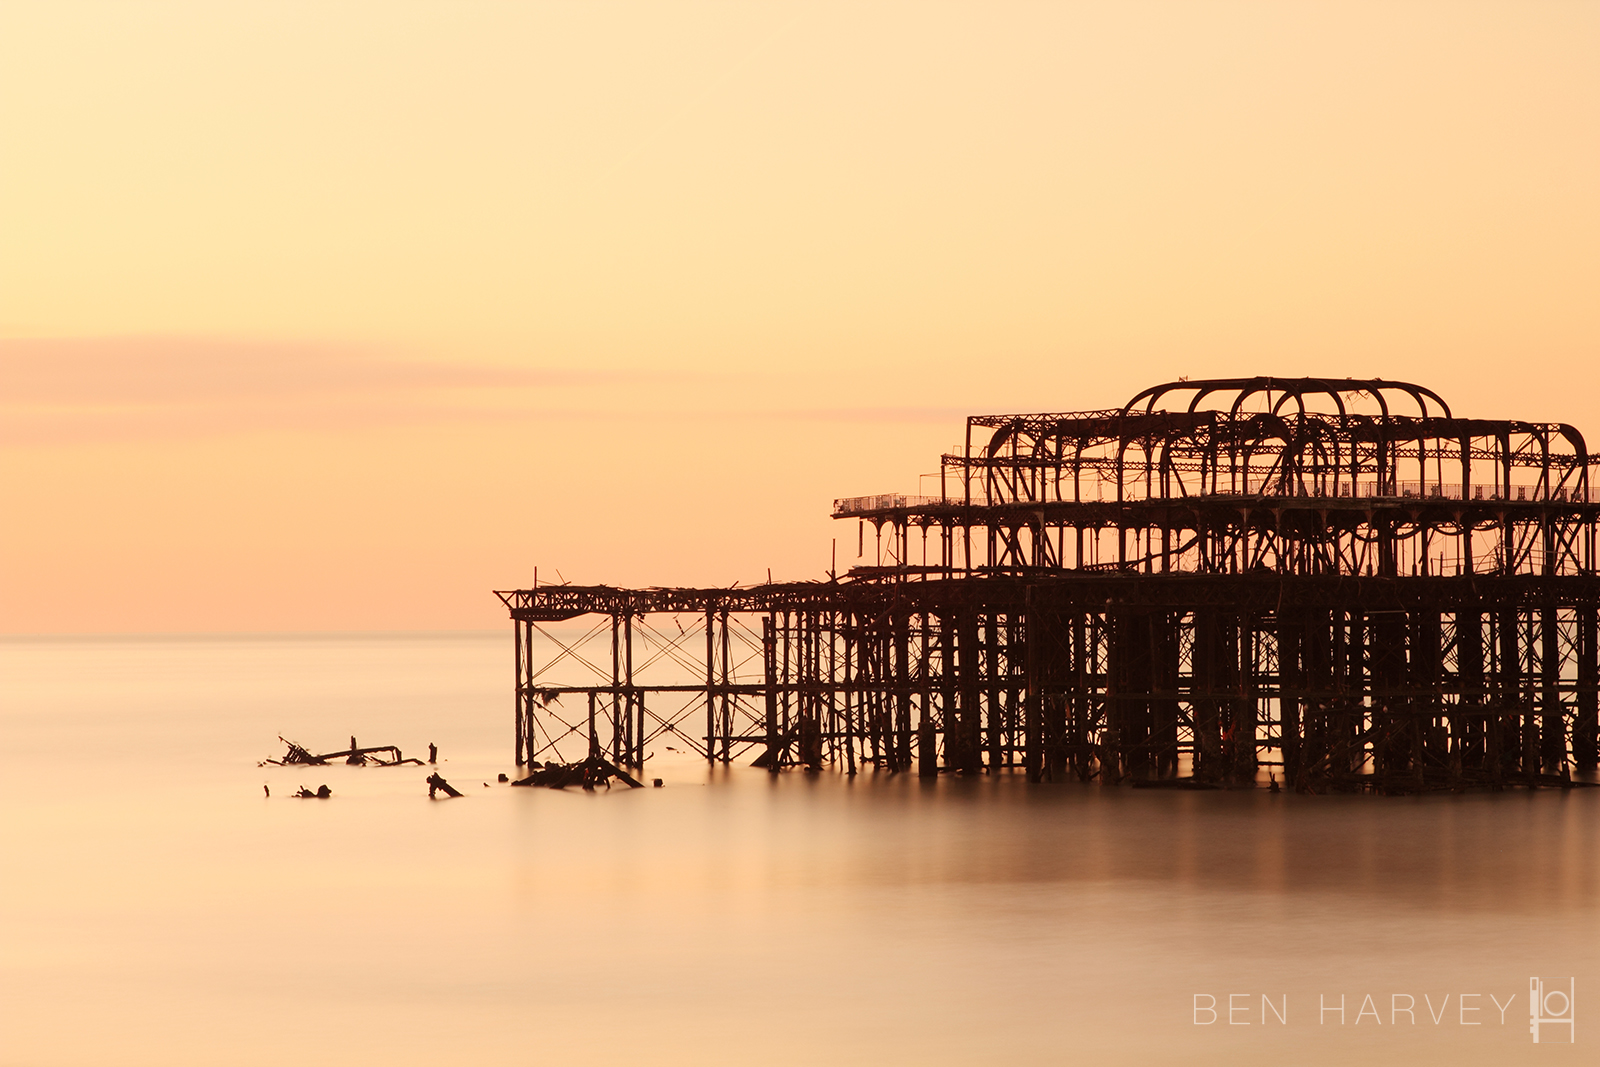
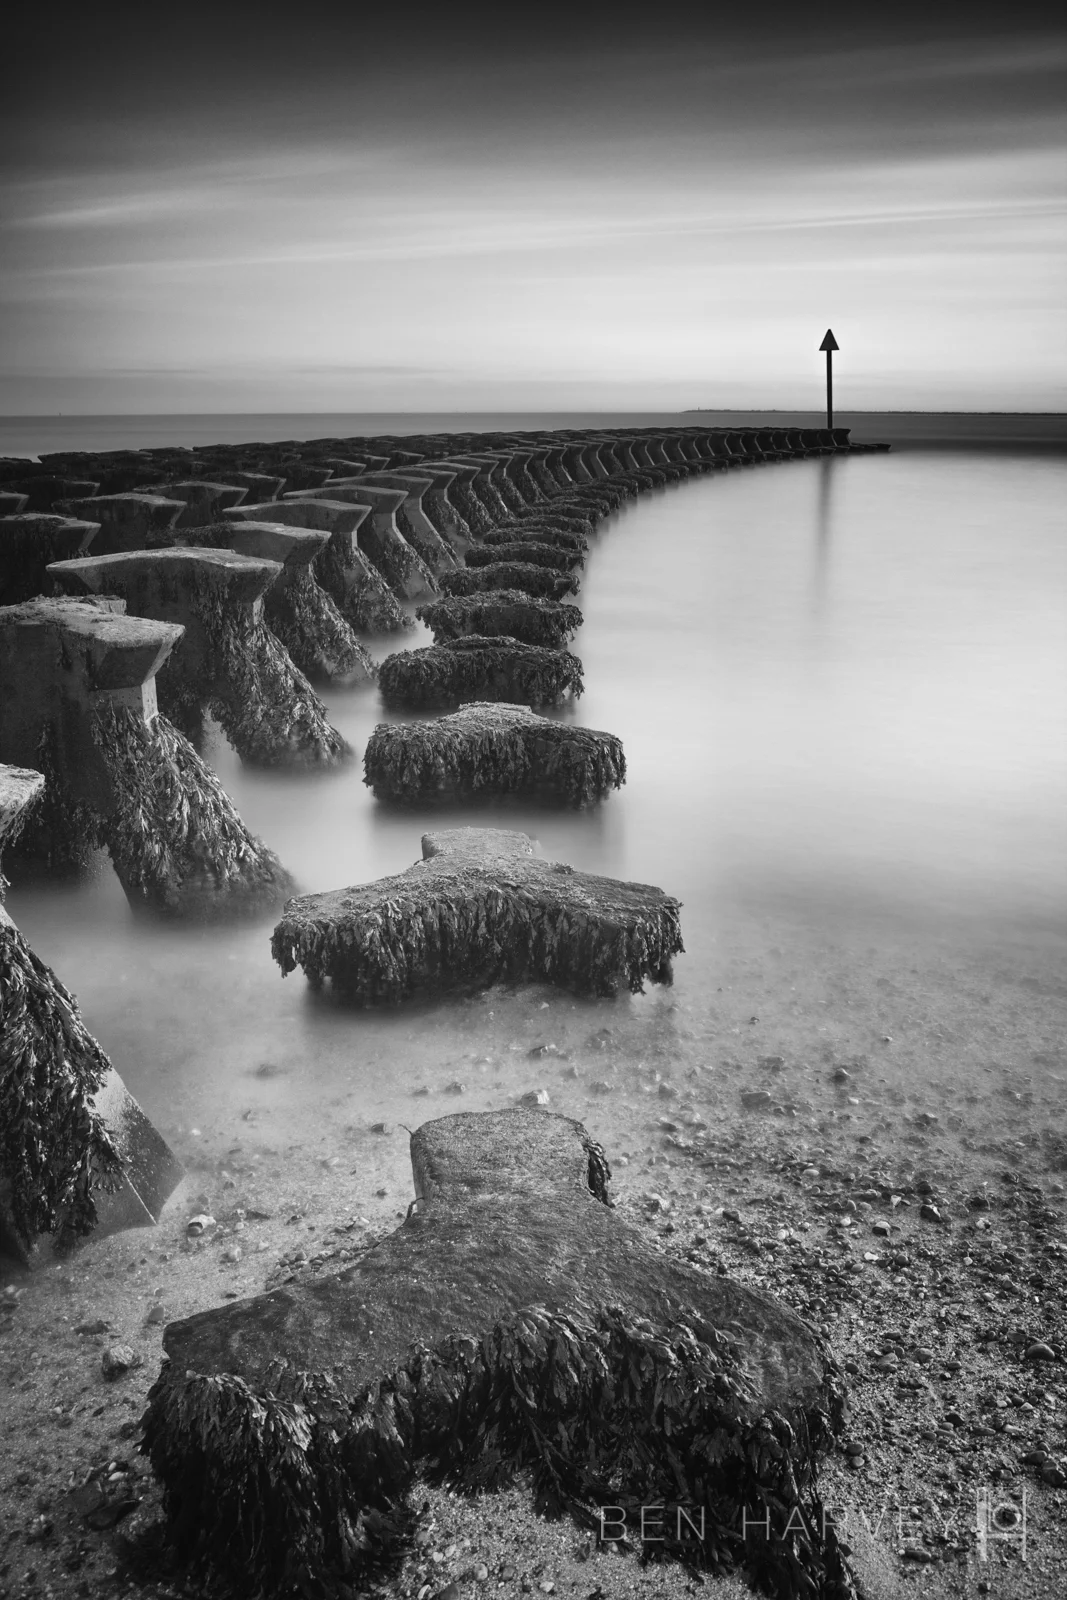
This image did not require the use of any filters. The long exposure was necessary, due to the low light levels - since the sun had already set.
So what equipment do you need?
You will need a tripod, there is no use trying to hand-hold your camera for seconds/minutes on end - and no amount of image stabilisation is going to help. Get the best tripod that you can afford, and one that is capable of holding your kit. A flimsy tripod won't perform very well if you put a heavy DSLR and telephoto lens on the front. I also use a cable to trigger the camera, to avoid jogging the camera when I push the shutter button. If you don't have one of the cables, use the cameras self-timer option.
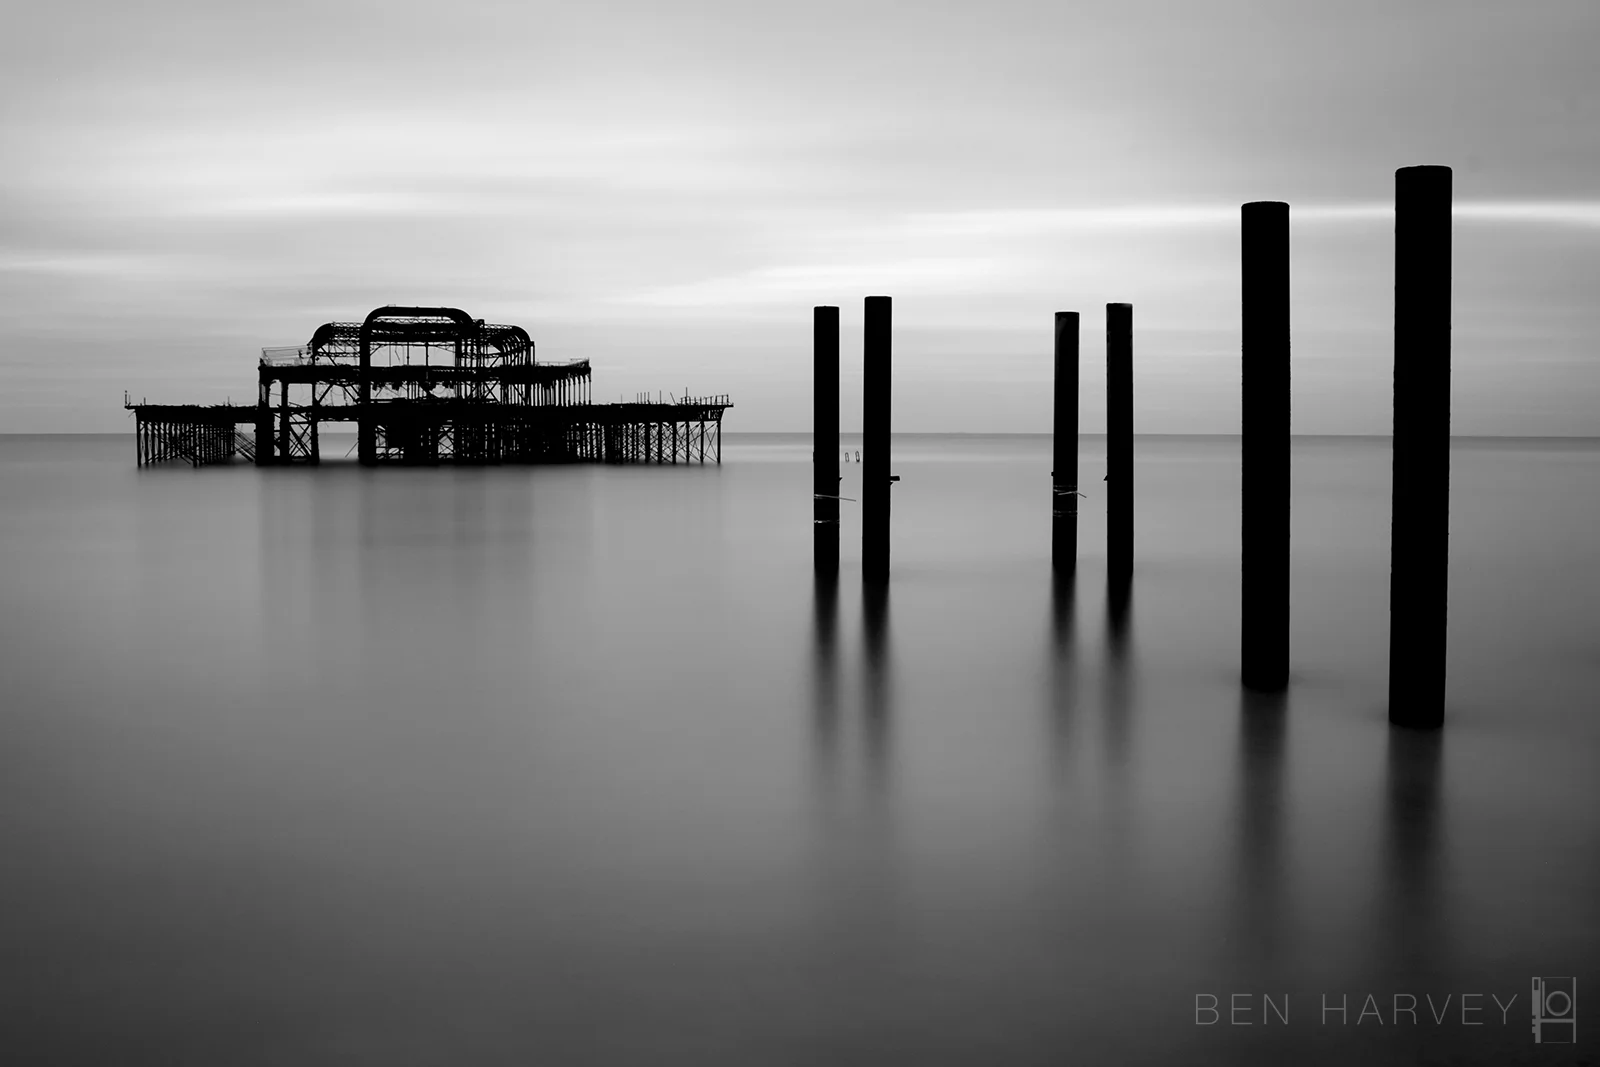
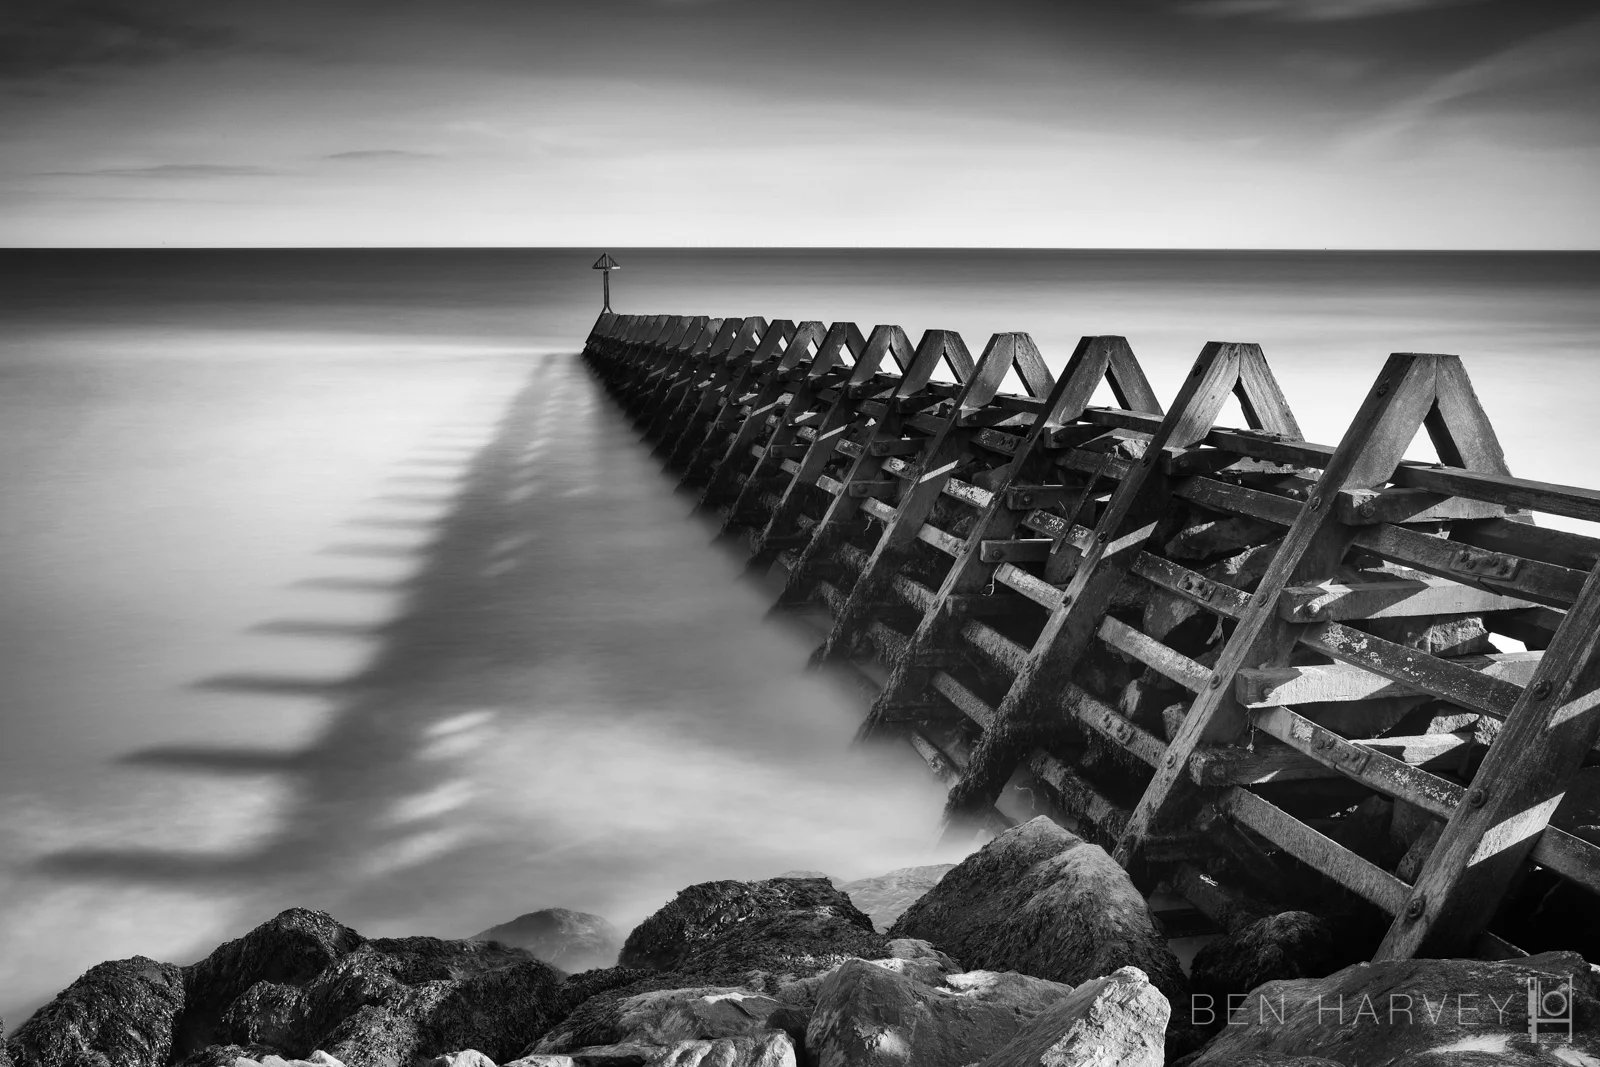
A sunrise long exposure of Brighton West Pier
Filters
Filters can be expensive, and generally speaking - you get what you pay for. To achieve a longer than normal exposure you will need to block some of the light entering the camera, in the same way we wear sunglasses when it is too bright. These filters are called ND filters, which stands for neutral density - supposedly not creating a colour cast (but they all do to some degree). These come in various densities, which will be referred to in stops. The darker the filter, the longer the exposure will need to be. If you are looking for quite extreme long exposures (in to the minutes rather than seconds) then most photographers opt for a ten stop filter. You have the choice of screw on filters (round) or square filters that go into an adaptor. The square ones are much easier to use, can be used in conjunction with other filters, and you can quickly take them off to recompose your photo (they are so dark that you cannot see through them). I have the Hitech filter holder system and use a Hitech 10 stop filter for the majority of my long exposures. If you are shooting landscapes then you may need to use graduated filters to stop the sky over-exposing, I use Lee grad filters - however they are very expensive. As mentioned above, the filters will give your photos a colour cast, which is why I tend to convert them to black and white. You can use polarising filters to extend the length of exposure, however this will not achieve an extreme long exposure. If you own two polarisers, then you can overlap them and turn them to achieve an extremely dark filter - however you have no way of calculating how dark it is and how long the exposure needs to be.
So now what do I do?
Once you have the camera set up on a tripod, before any filters go on - you need to compose the image. I tend to have my filter holder already on at this point, but no filters slotted in. Once you have your camera pointing at your scene, set your aperture to F8/F11 - the ISO set to 100 and focus approximately one third of the way into the scene. I use live view to zoom into the scene to make sure that you have everything in focus (you will need to hit the depth of field preview, as the live view on a Canon will be showing the scene at your lens' larger aperture). Once you have your focus sorted, switch the lens to manual focus.
Now we need to get the correct exposure settings before we go any further. I prefer to use an app to calculate the ten stop exposure time, which there are many free options out there. Take a test shot, review the histogram and aim to get the photo as bright as possible without losing detail in the highlights. If this is for example 1/4 second, punch this info into the app and it will tell you that with a ten stop filter on the camera will require 4 minutes of exposure. Turn your camera to bulb mode, slip the filter in and take the shot. Because I use a remote cable, I can lock the shutter open for 4 minutes. Without this you will be limited to 30 second exposures.
Other factors
You will need to consider that not all filters are what they say on the tin. A lot of ten stop filters are actually 9 or 11 stops. If you are doing a four minute exposure then it is realistic to expect the light conditions to change in this period - which is going to affect your exposure. Doing long exposures also heats up your sensor, which leads to hot pixels appearing in your photos. These are easily cloned out - however can be a nuisance. Make sure that you have your cameras long exposure noise reduction switched off, as your camera will take another long exposure - which you don't want if you are doing 4 minute photos!
I hope that my workflow and images above have inspired you to go out and have a go at this method of photography. For more examples, check out the Landscapes and Brighton section of my website.
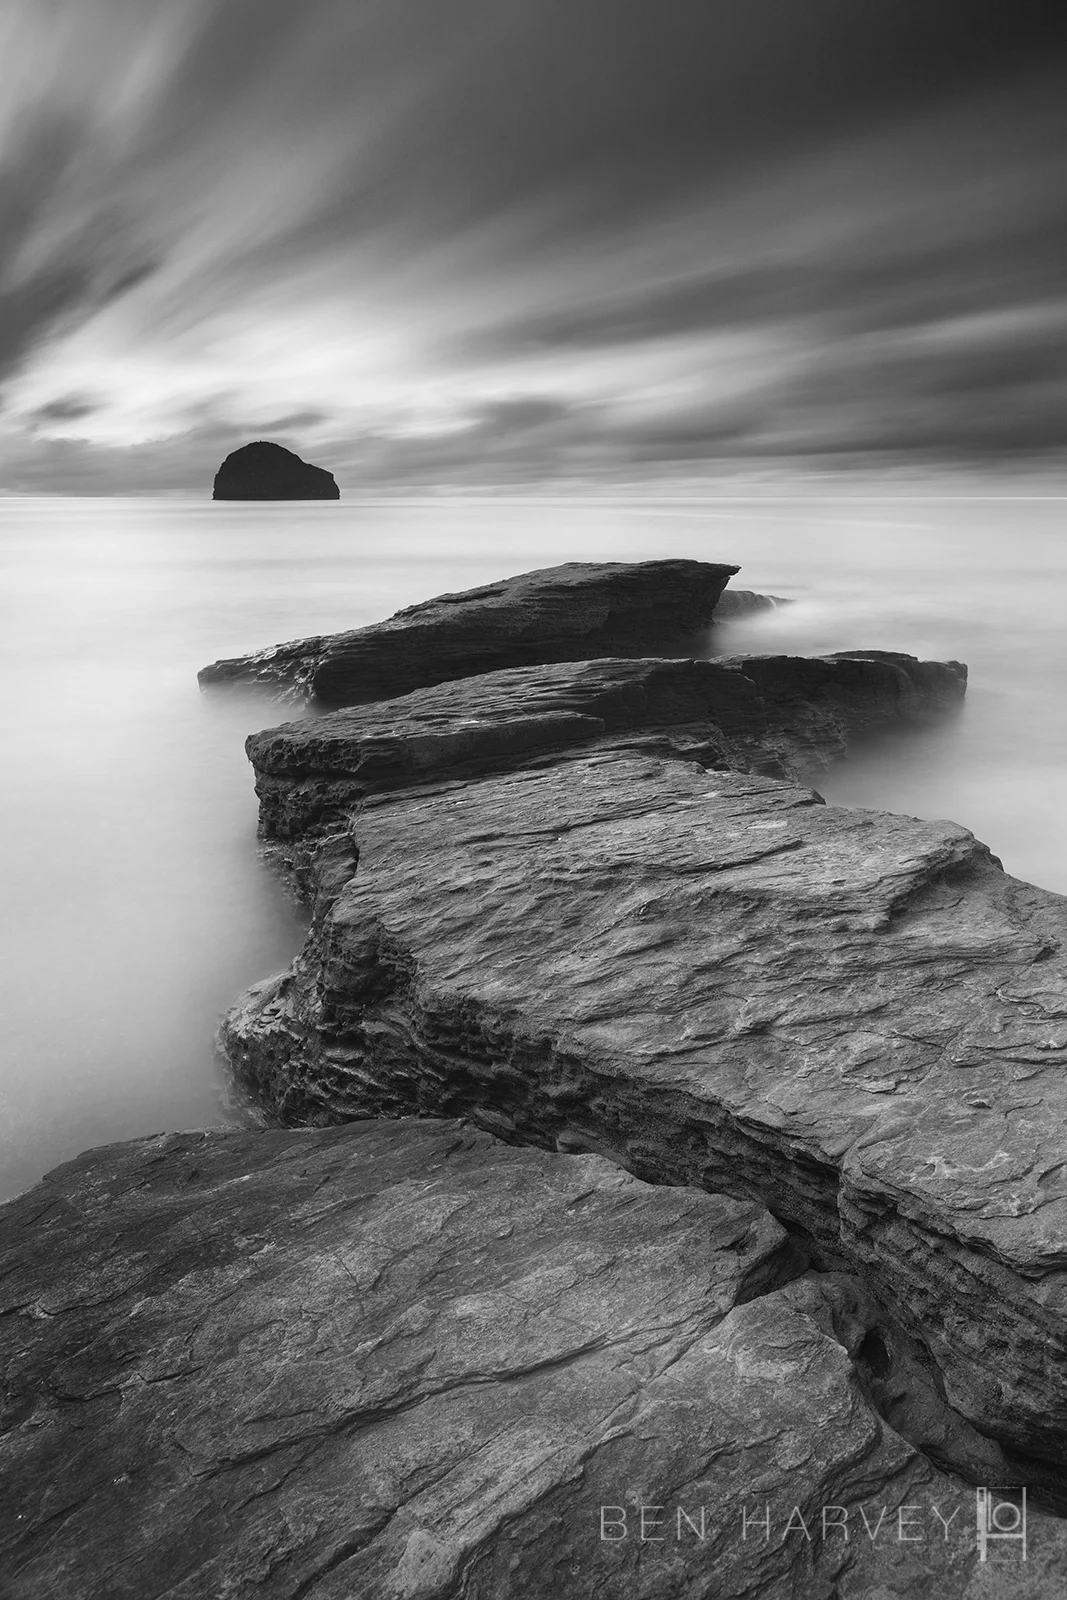
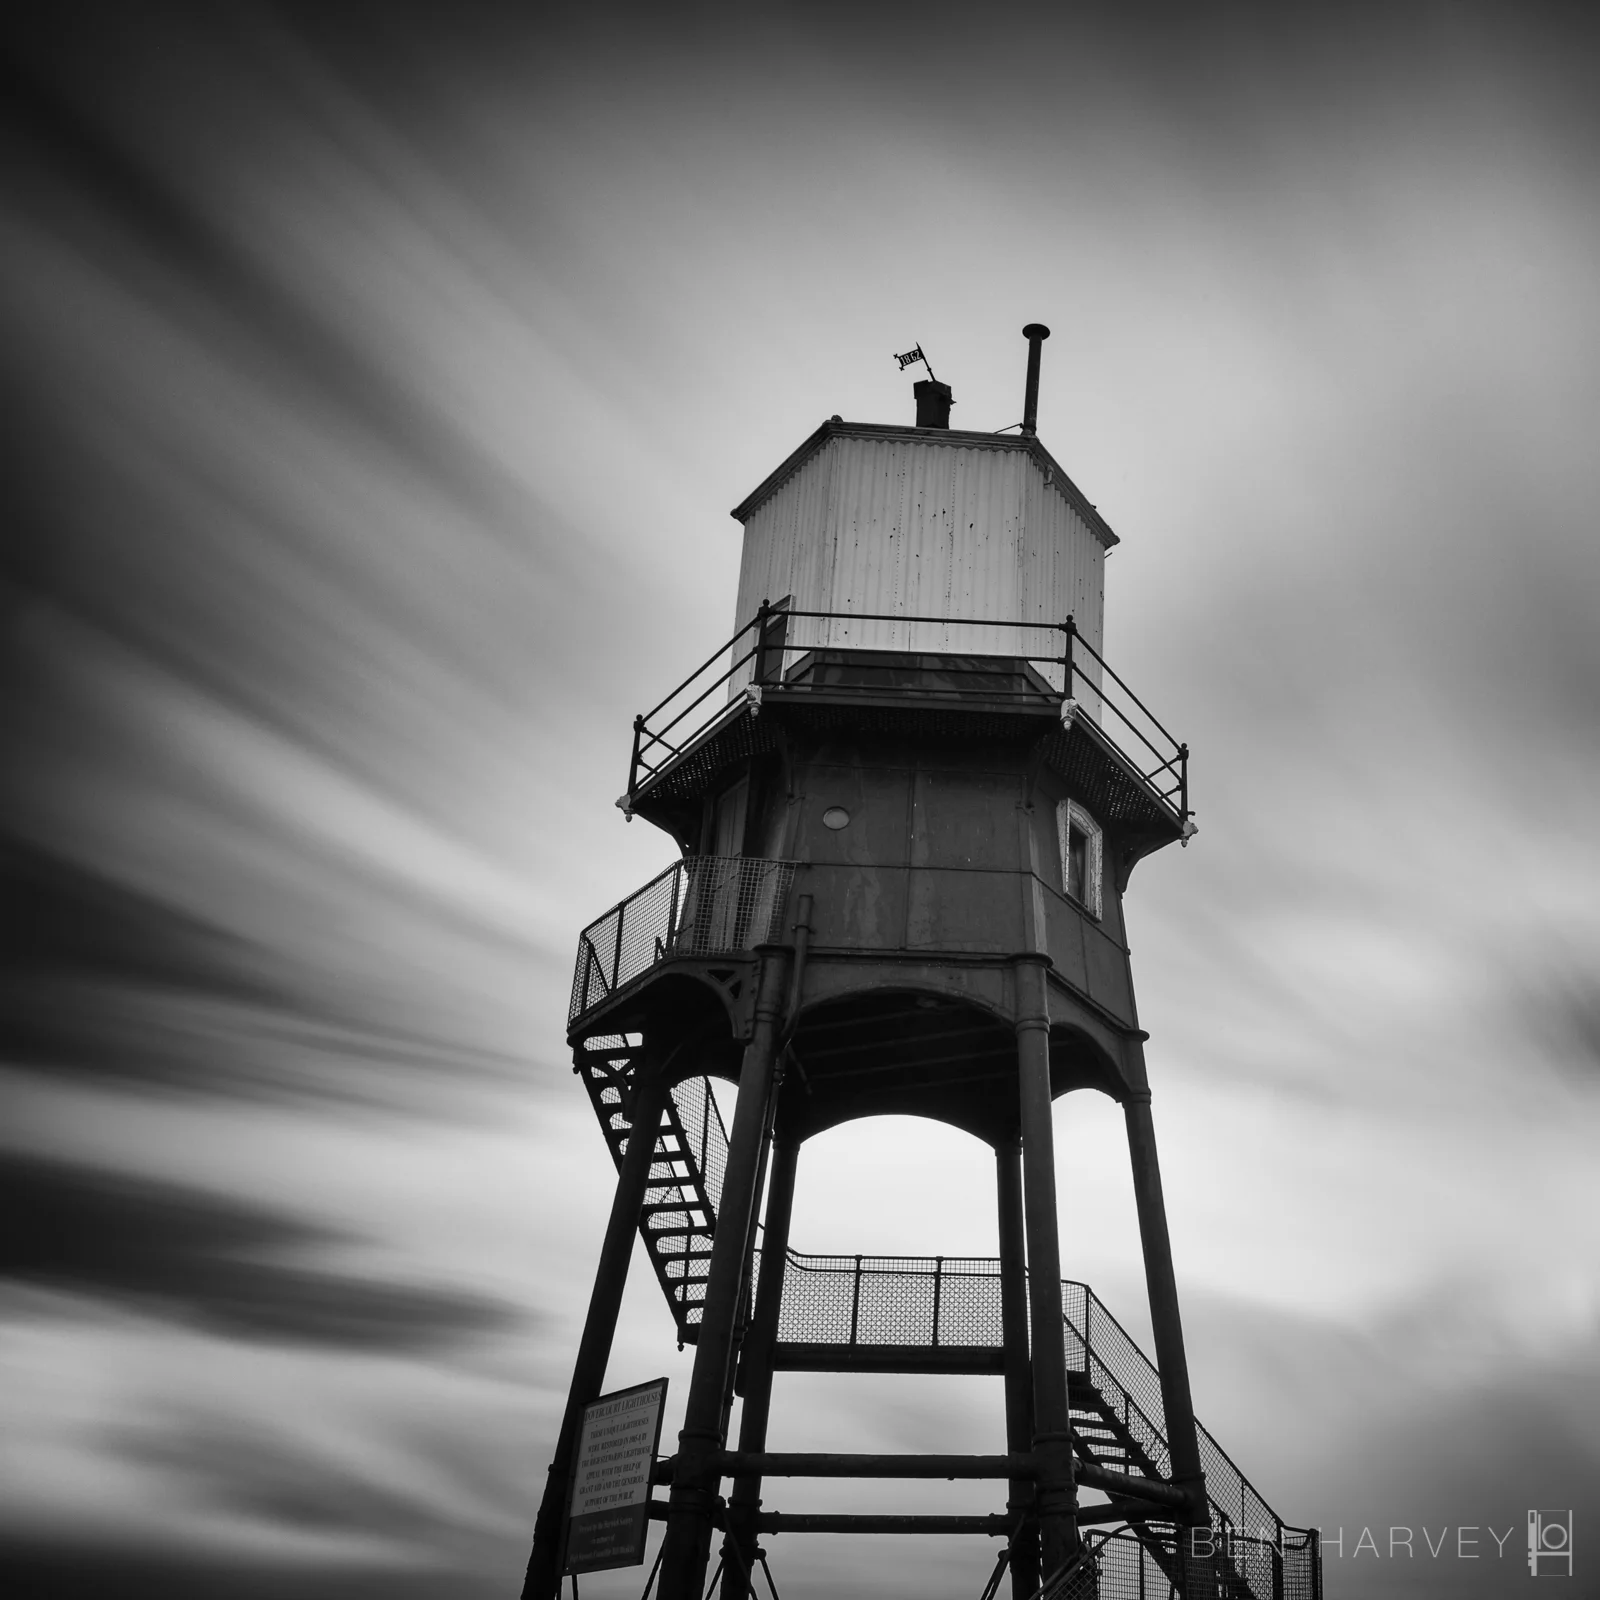
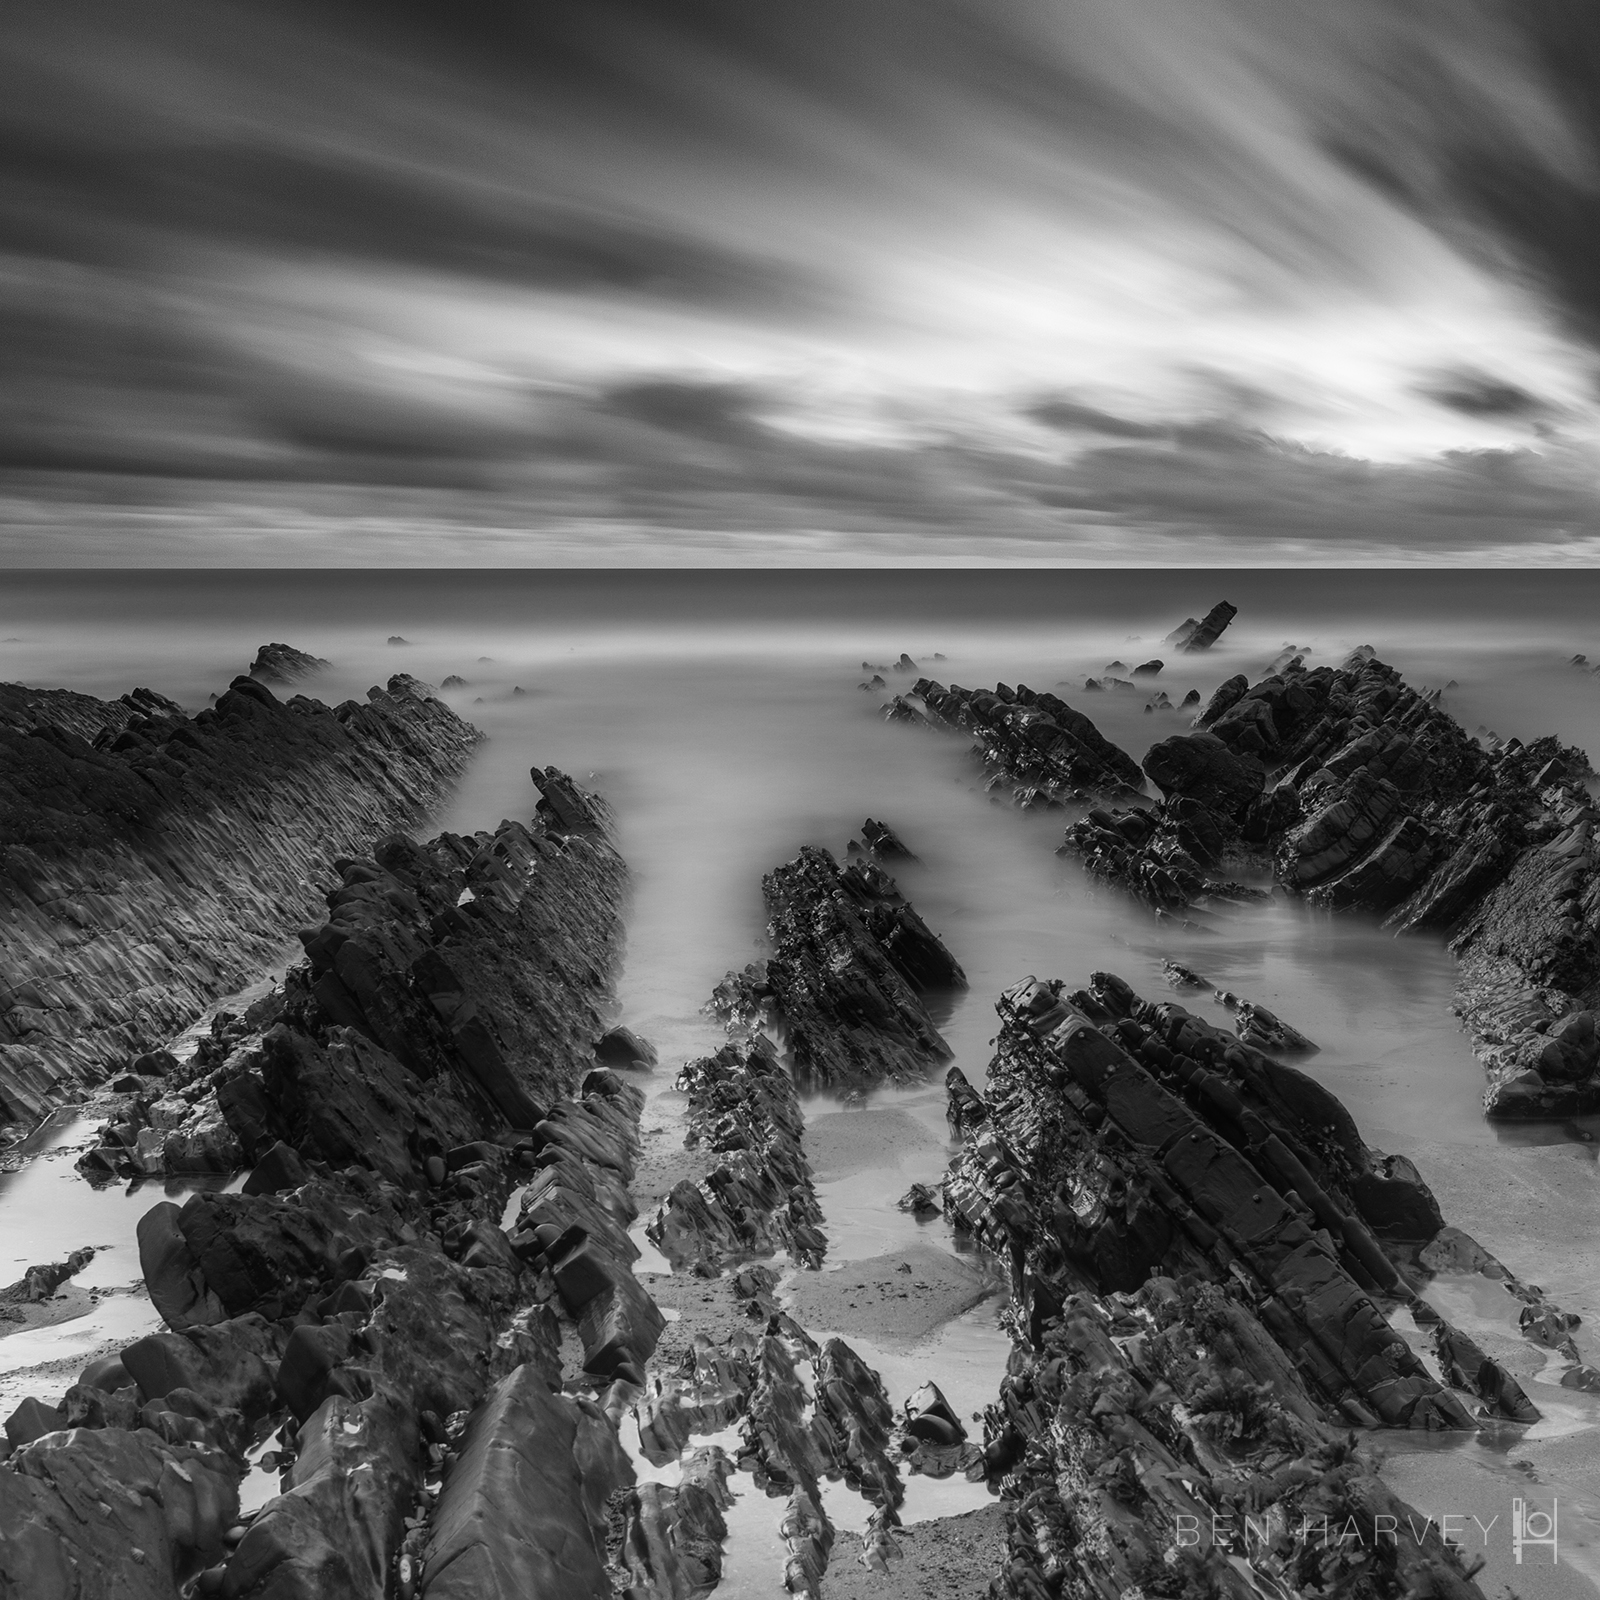
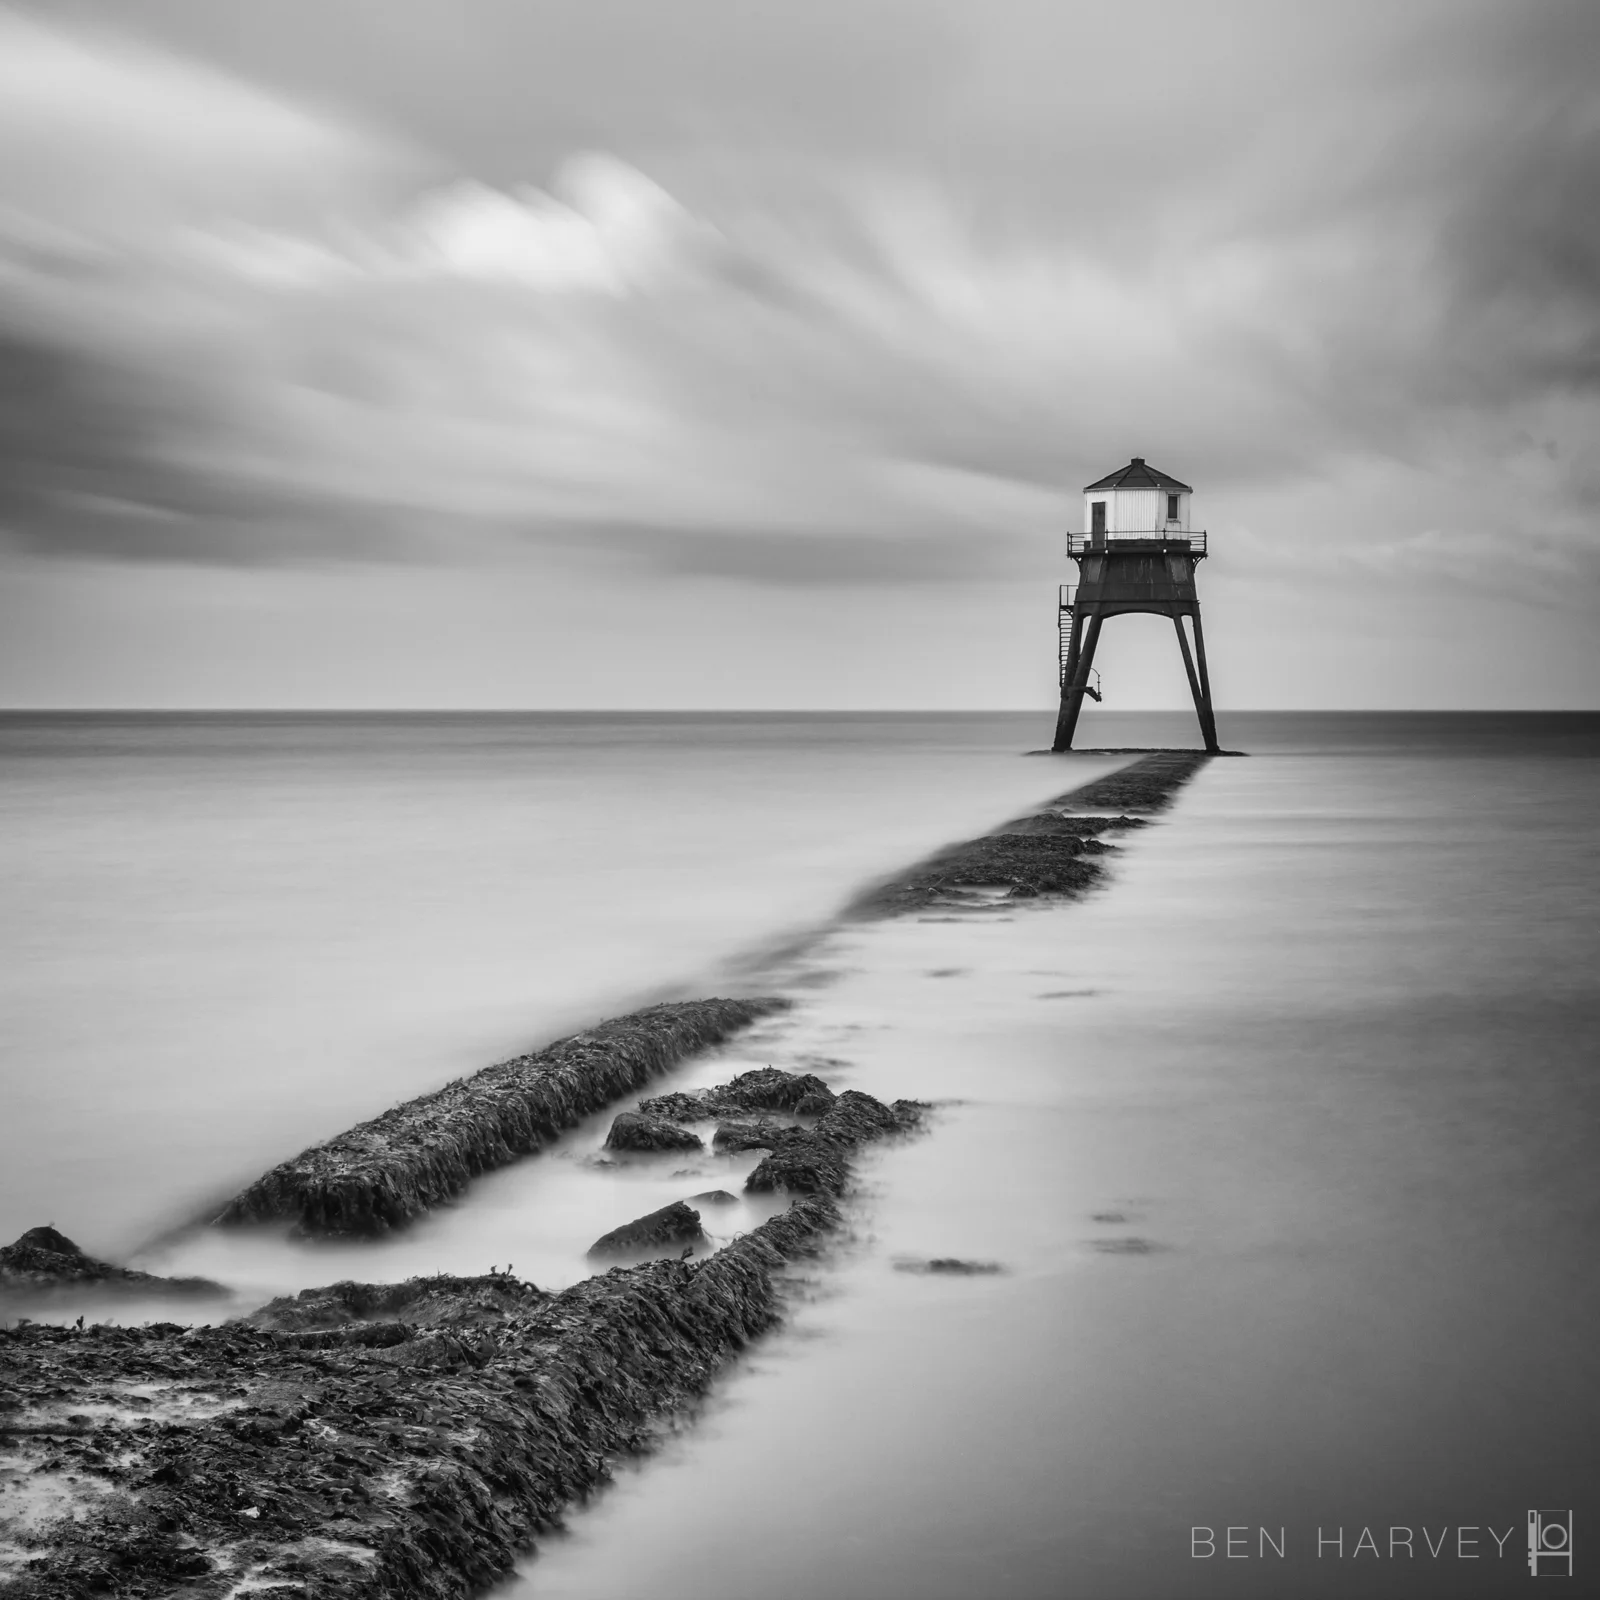
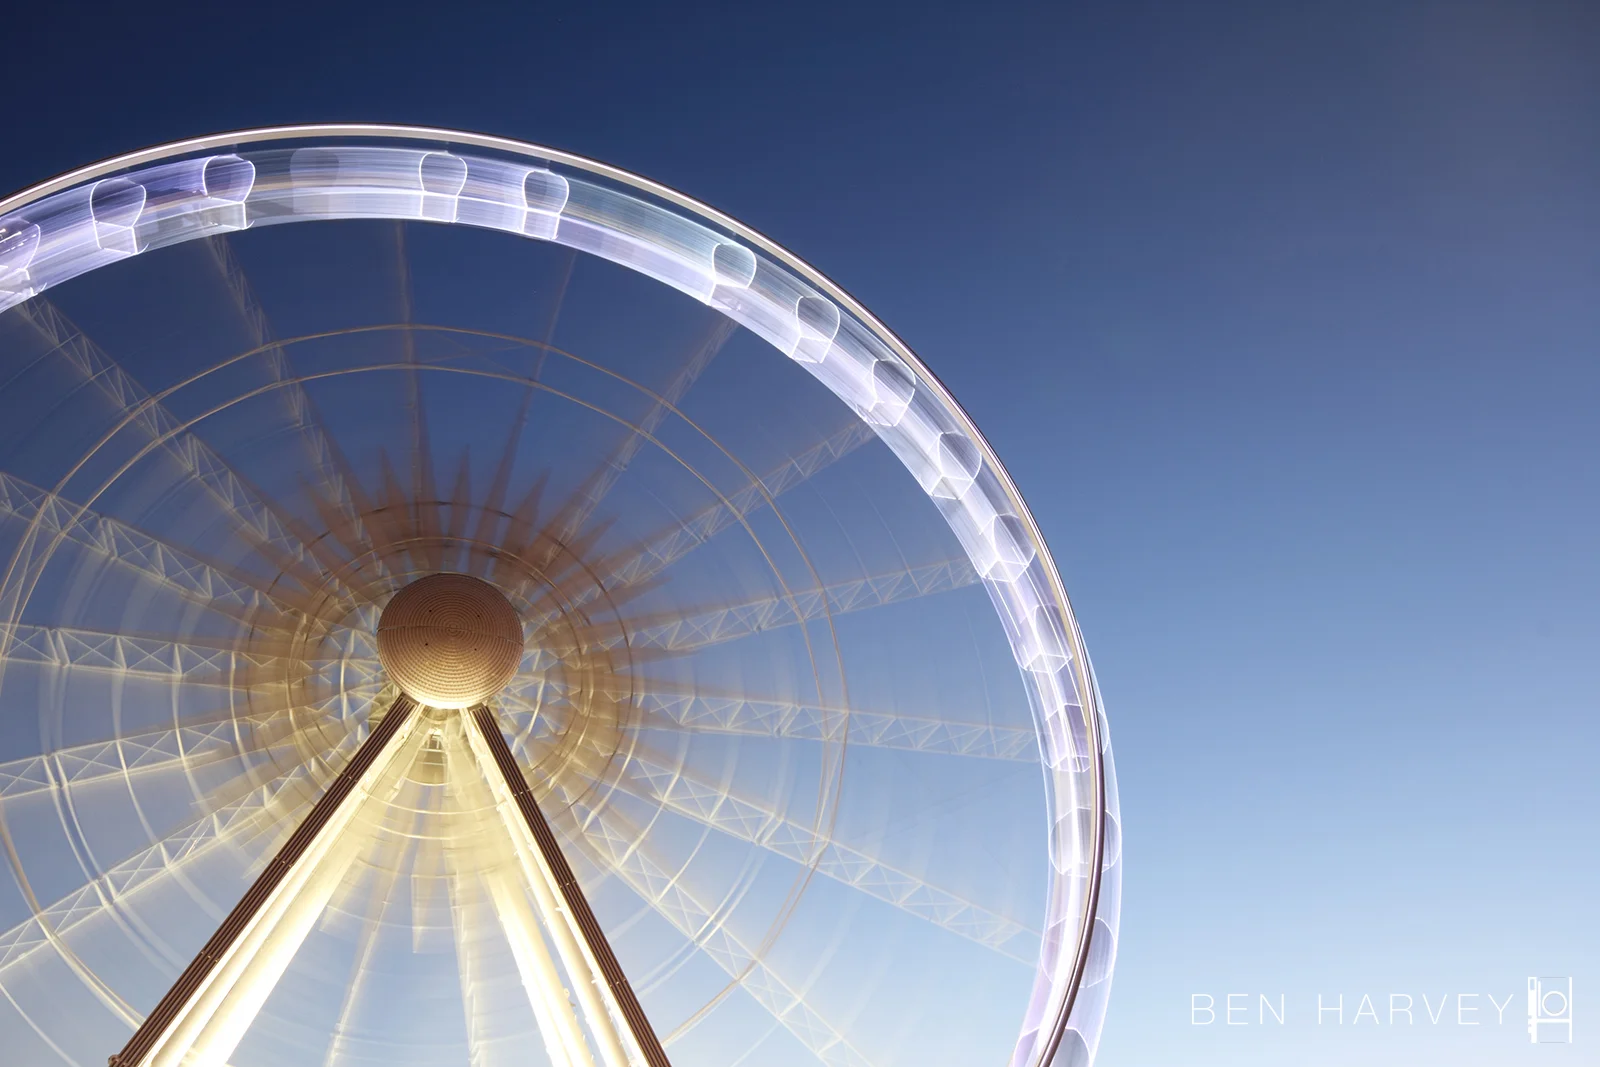
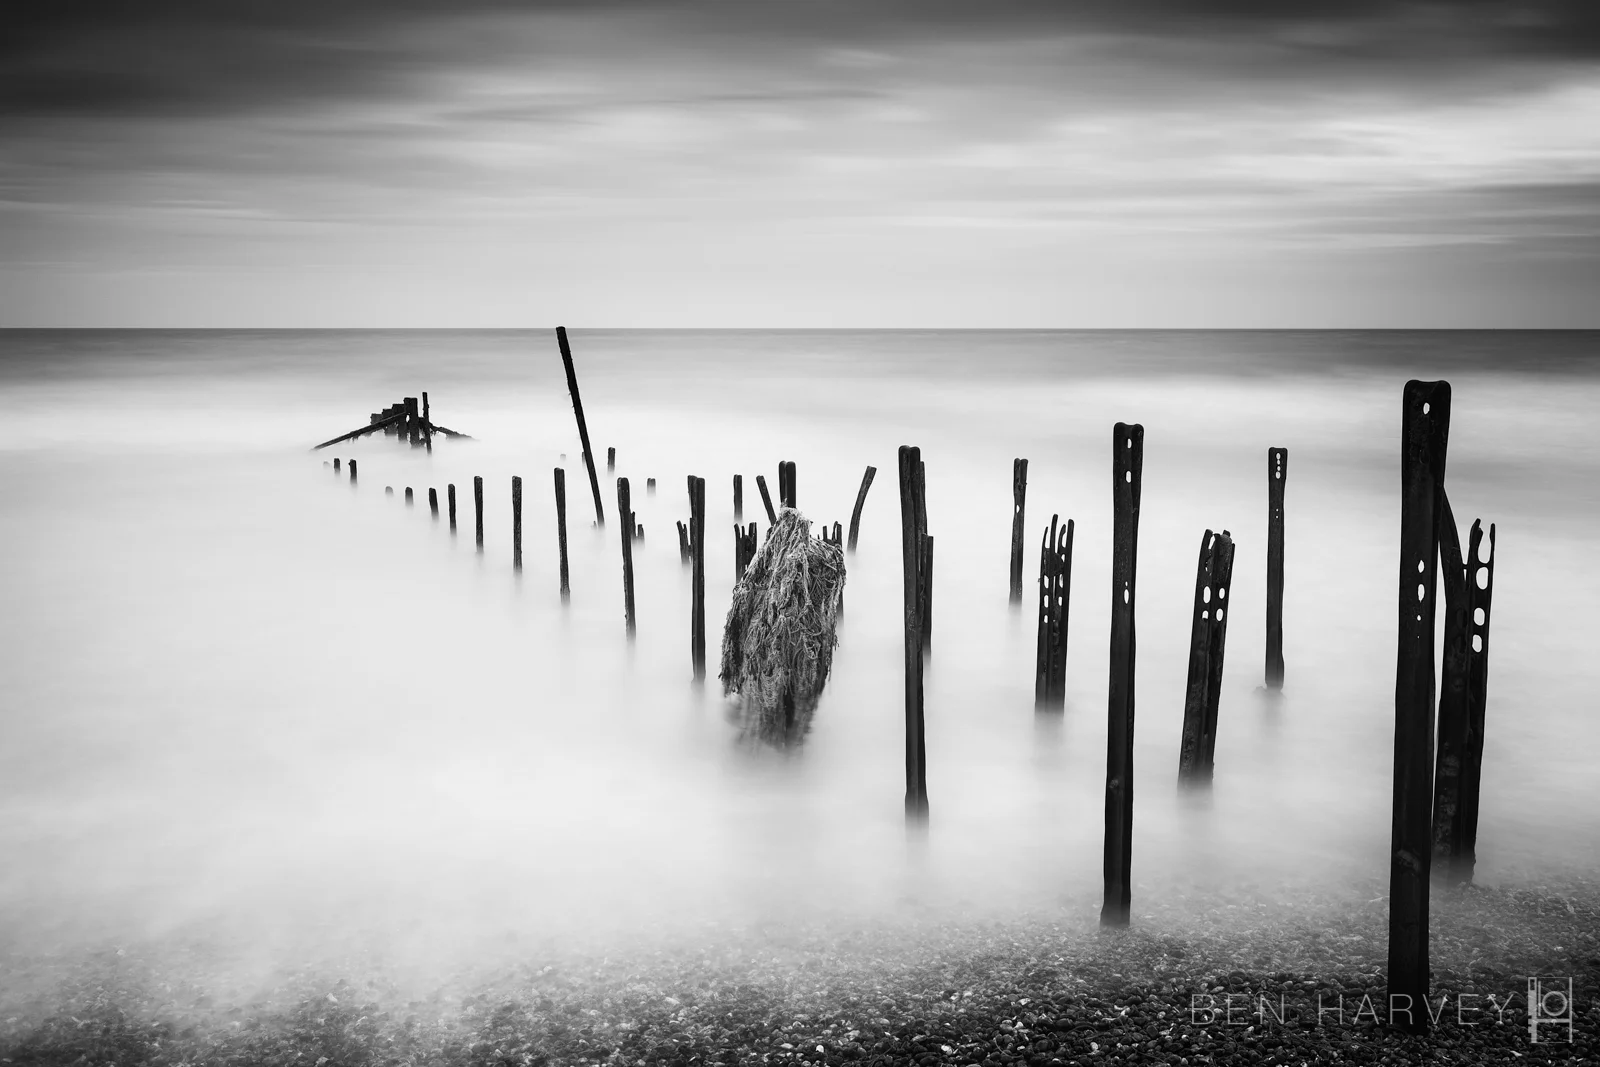
A few more examples are included below. Enjoy!