Photographing Bubbles
Hi everyone, if you are reading this then you either like bubbles or photography - if you like both then you are in for a treat!
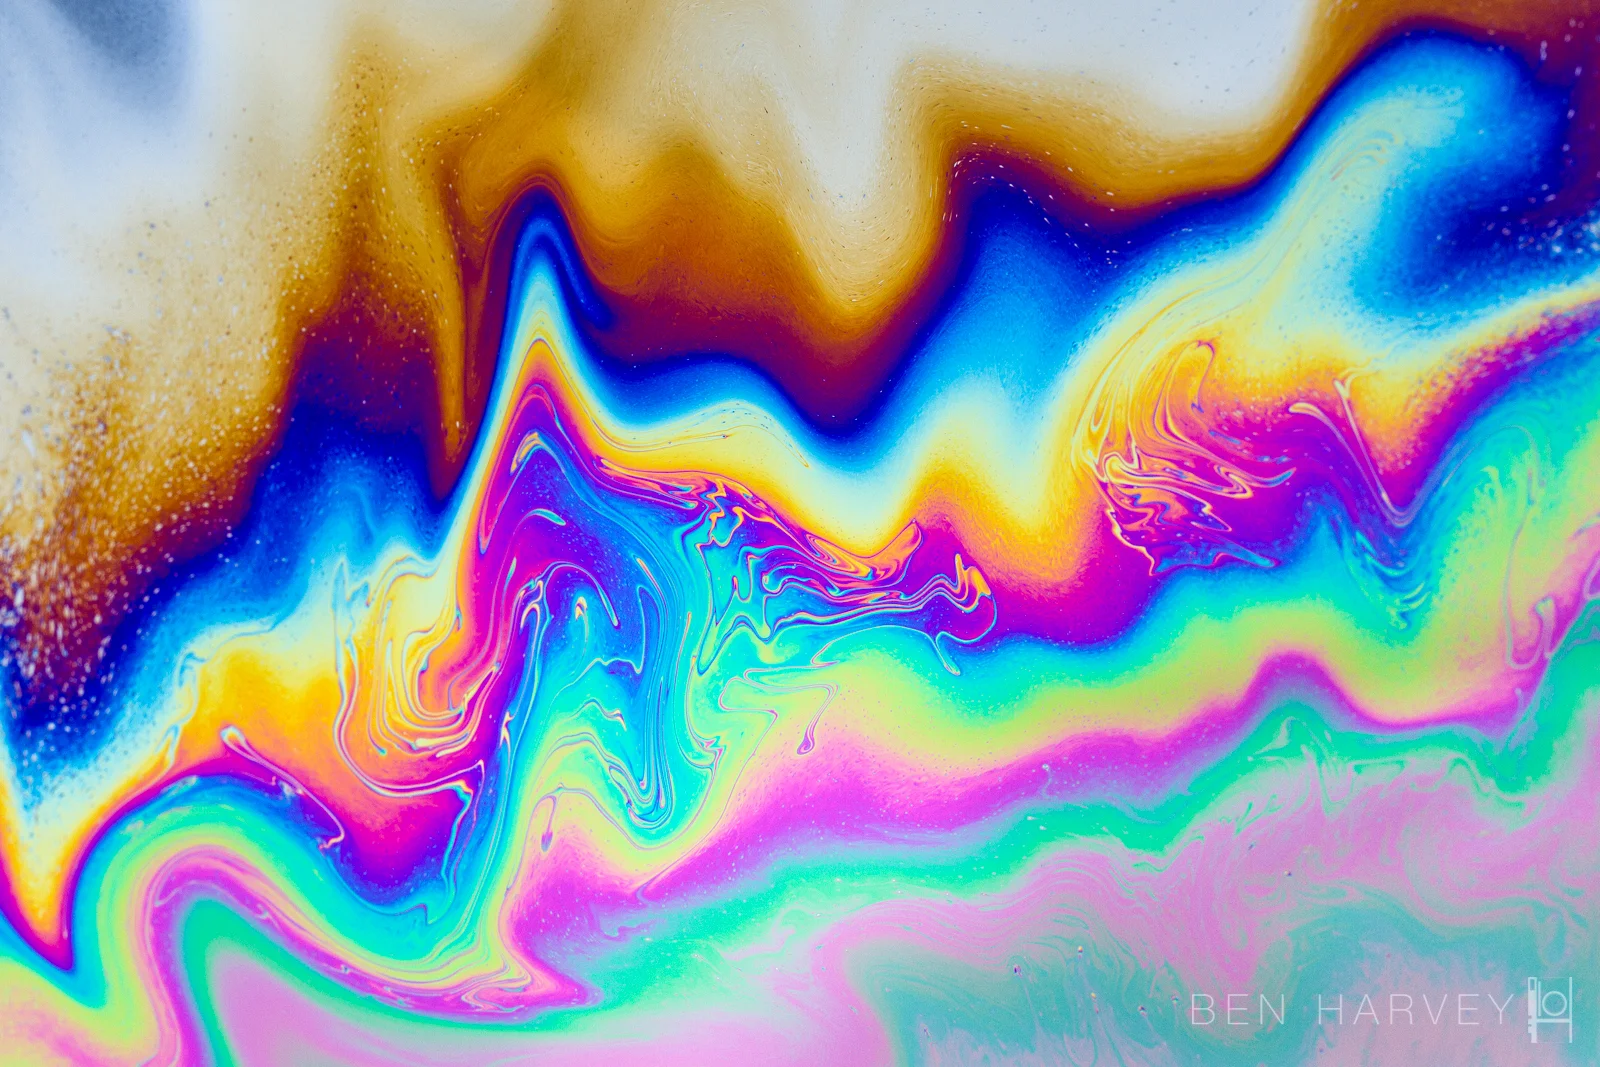
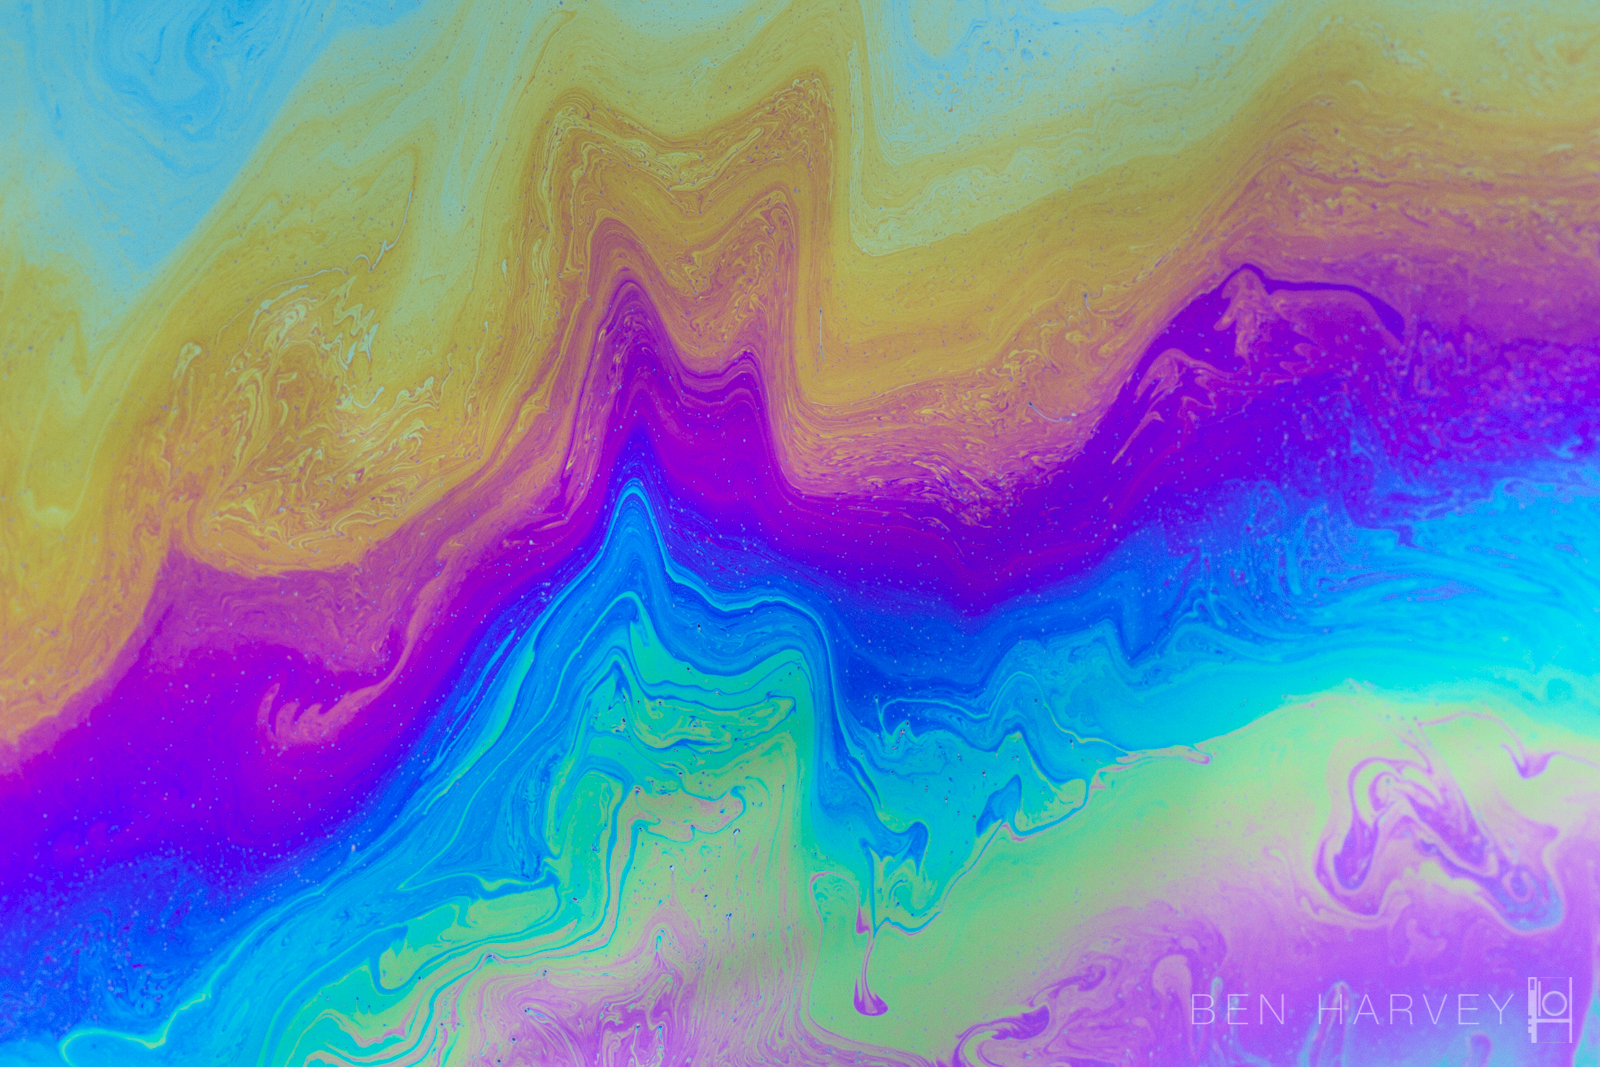
A photography of a flat-surface bubble (I explain how to create this further down the page)
My daughter is obsessed with bubbles, and every time I see bubbles floating in the air, I run to grab my camera to try to capture the vibrant colours that I can see. However these colours do not come through in the photographs without a bit of know-how, and I am disappointed every time I attempt it in a rush.
What gear will you need?
In order to get images with impact, you need to get reasonably close. Macro photography can be achieved in many ways, some expensive and some cheaper alternatives. I am an DSLR user, which allows me to change lenses, which is going to give you more options, however compact cameras or bridge cameras 'macro' function may do the job. The cheapest way, with a DSLR, is to get some macro extension tubes. This will allow you to focus much closer than normal, with your existing kits lens. Another way is to reverse your lens, which gives the affect of a magnifying glass, however this may get you a bit too close. If you have the luxury of owning a dedicated macro lens, then use this. I used a 100mm macro lens on a full-frame camera for all of these photos - which still allows you to control focusing and aperture settings (whereas reversing your lens loses you all of this functionality).
You will need a tripod, to keep your camera still and make focusing much easier. You will also need a light source, which can either be a large window or a large softbox. If you use a soft box then you will need triggers to fire these.
Specific equipment for making bubbles are further down the text.

Bubble dome
OK, so now the bubbles...
This is not a quick project, you will find yourself staring at the bubbles for ages, and there are infinite variations in the colours and patterns - and you will think to yourself, I will photograph a couple more...then hours pass.
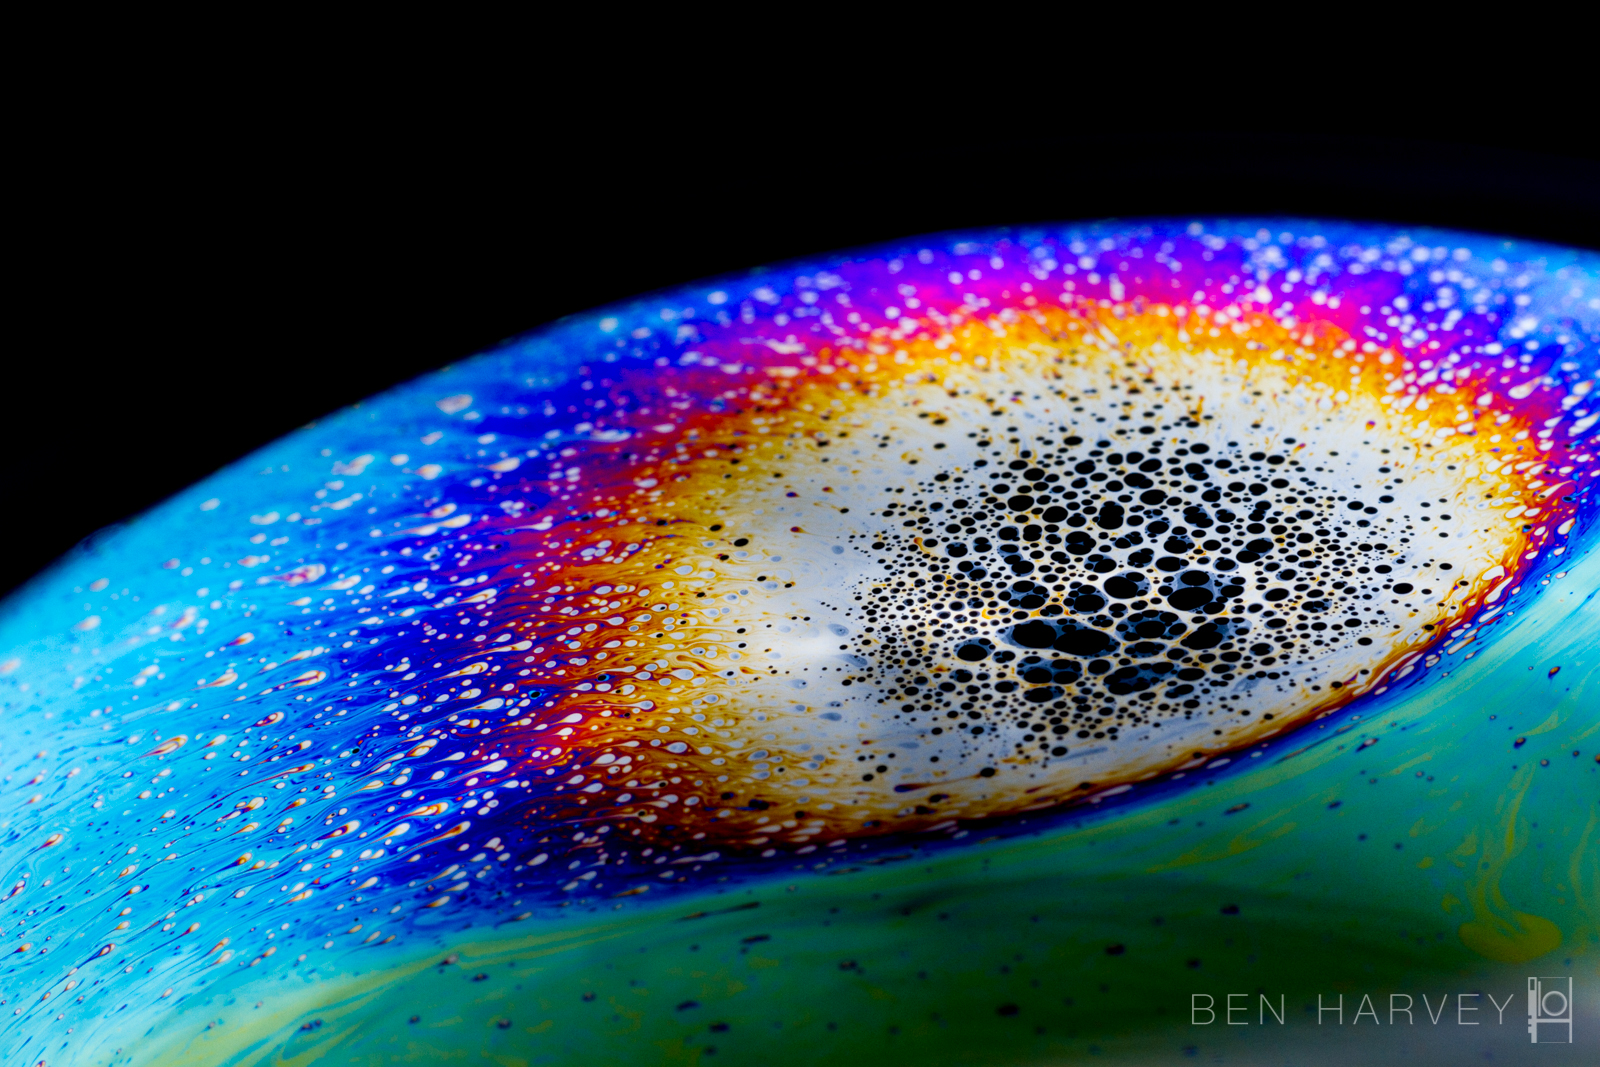
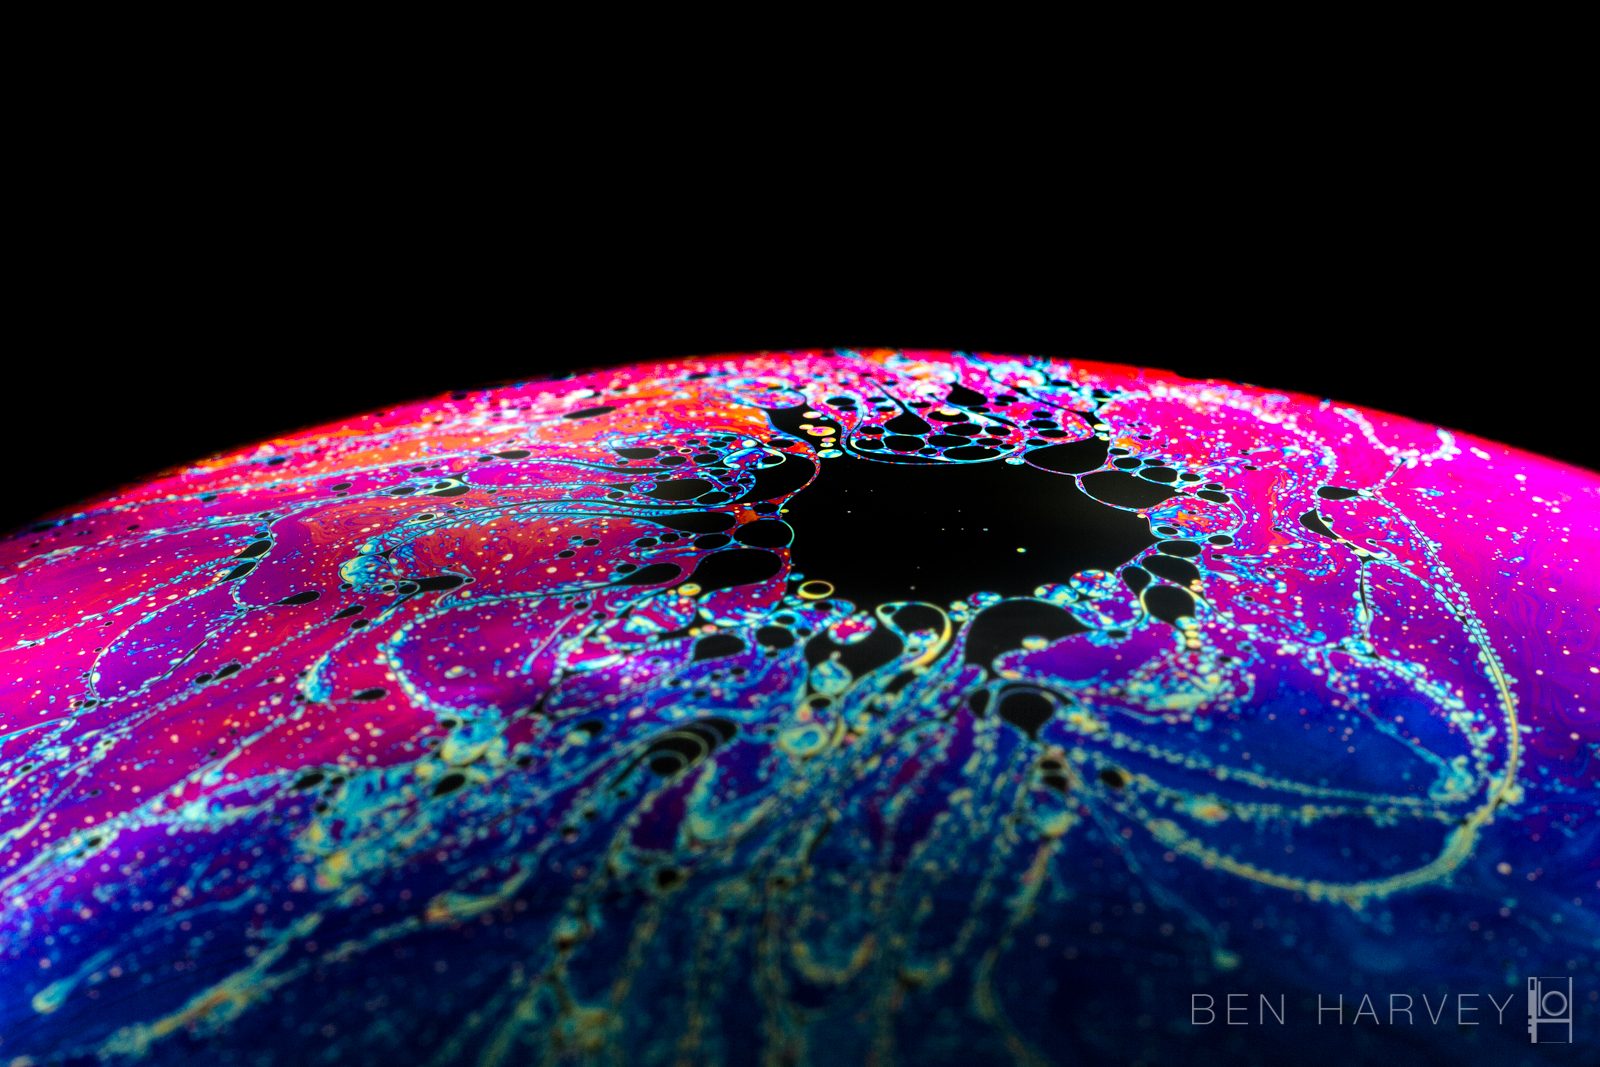
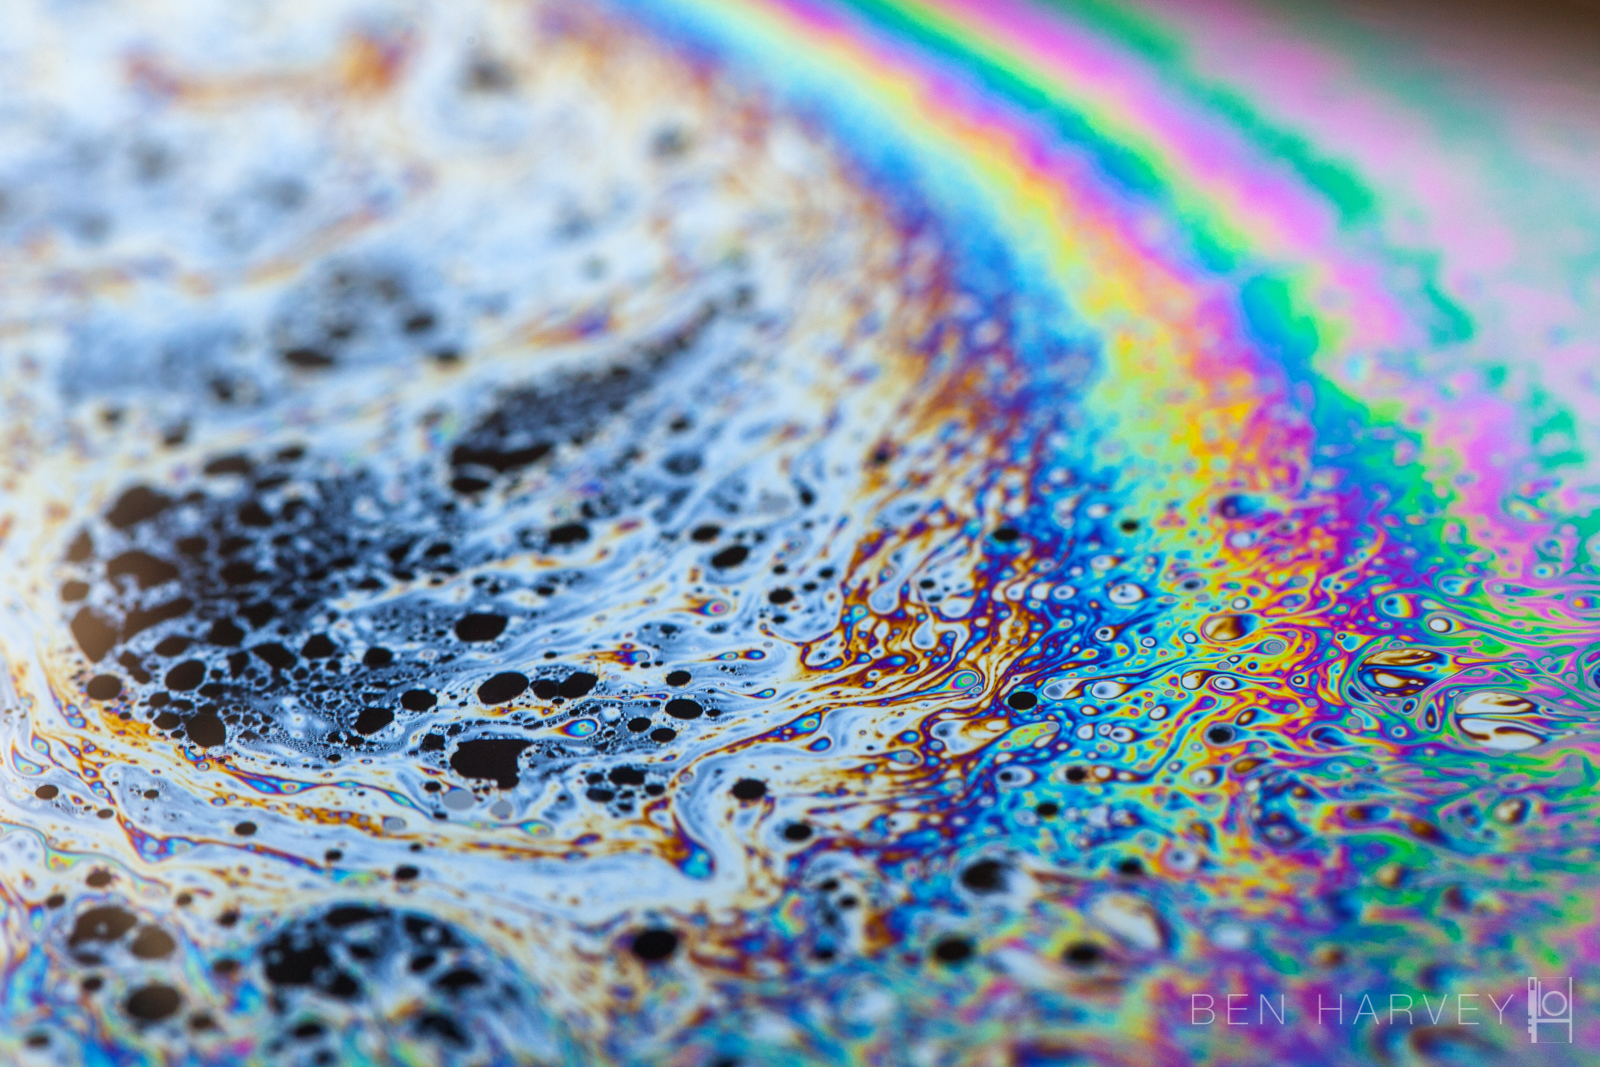
When you first create or blow a bubble, it starts clear. The colour then starts to appear, becoming more and more vibrant as time passes. The colours then start to fade, making way for a grey 'moon-like' structure that forms around a black hole at the top of the bubble. This black hole expands and the bubble will pop. Once you know this life cycle of the bubble, you will know how long you have to photograph it.

A bubble at the begging of its 'life'
A bubble that will shortly pop
Below is a photograph of the set-up that I found online (link below photo).
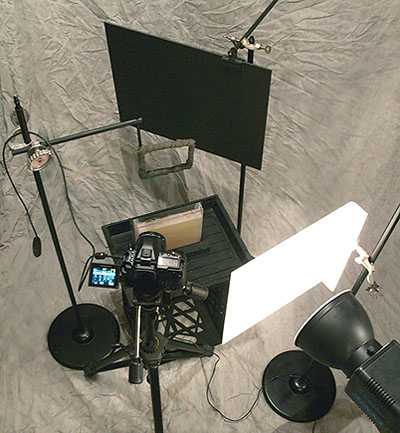
What you are looking for is a black background, that does not receive light from your flash, a square wire-frame to create a flat surface for your bubble fluid, and a clamp of some sort to hold it in place. Ideally you camera is angled as straight on to the bubble surface as possible. Note that in this set up they have a constant feed of bubble fluid into the rectangle, I did not have this luxurious set-up, I simply dipped the make-shift rectangular hanger into a plate of bubble fluid.
Which bubble fluid should you use?
Don't buy cheap bubble fluid, generally the thicker it is the better it is. I actually used a mixture of fairy liquid and Glycerine. I have some glycerine left over from when I photographed food colouring splashes, and it does a great job of creating a more viscous fluid. Be careful when buying glycerine though, as I think it might be an ingredient in bomb-making! I managed to get the bubbles to last for around 5 minutes with the use of glycerine, which makes life much easier.
Camera settings
Once I had the set up, as the diagram above, I set the camera to manual mode, aperture to F16 and shutter speed to 1/160 ISO 400. These settings are purely based upon the power output of the lighting set up, and how much depth of field you wish to achieve. Even shooting at F16, not everything will be in focus, so I would urge you to use as small an aperture as you are comfortable with. I also used a cable release, to avoid jogging the camera with each shot.
What else will you need?
Patience, lots of it. It will take a while to get all of the settings right, but once you have this all set up in manual - each shot will be (technically) the same; it is just a case of waiting for the colours and patterns to be 'right'.
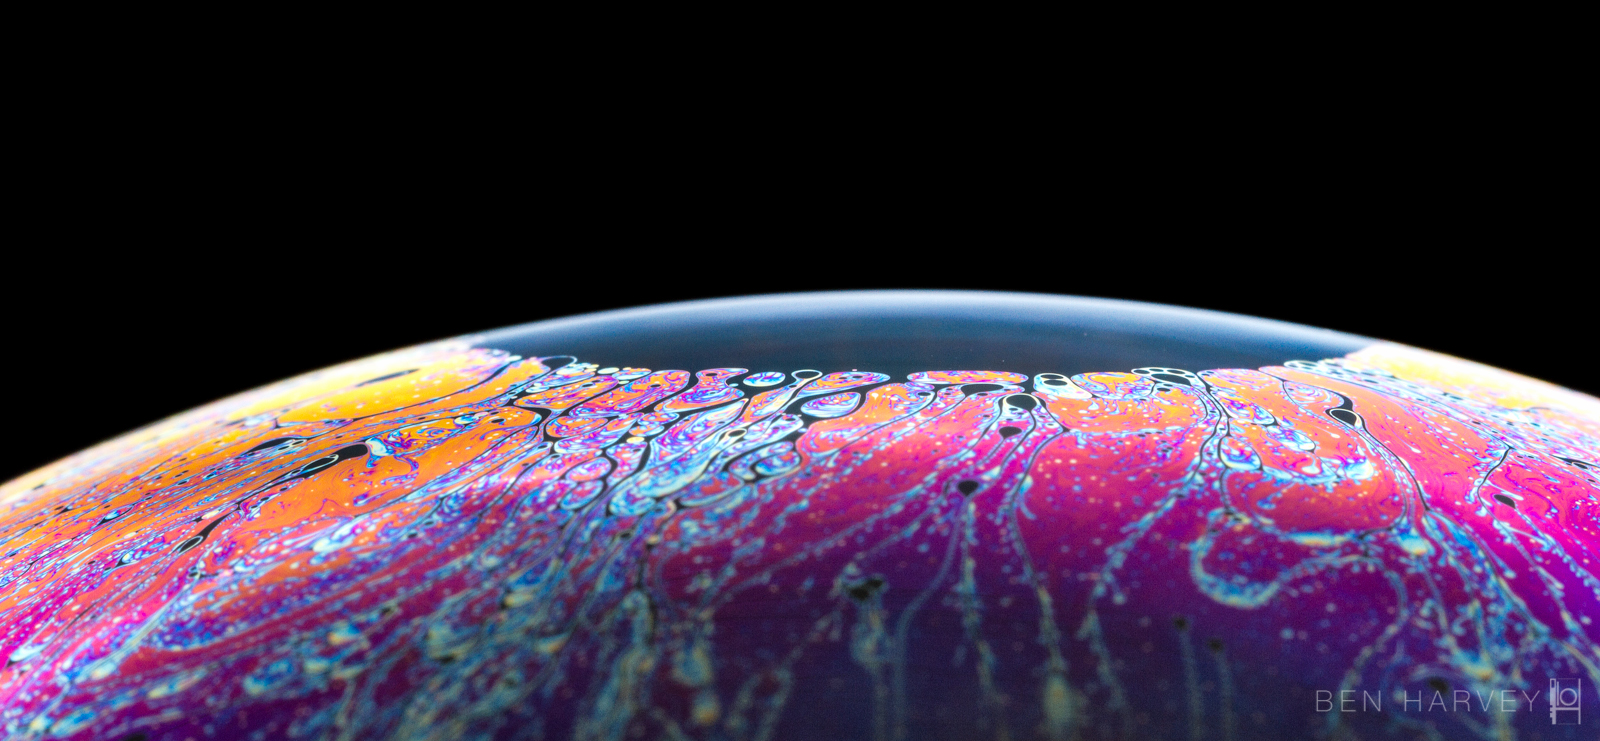
One of the most important things to take into account is that you will only see colour in the bubble surface where you are seeing the reflection of the light source. Below are two photographs that hopefully show this scenario.

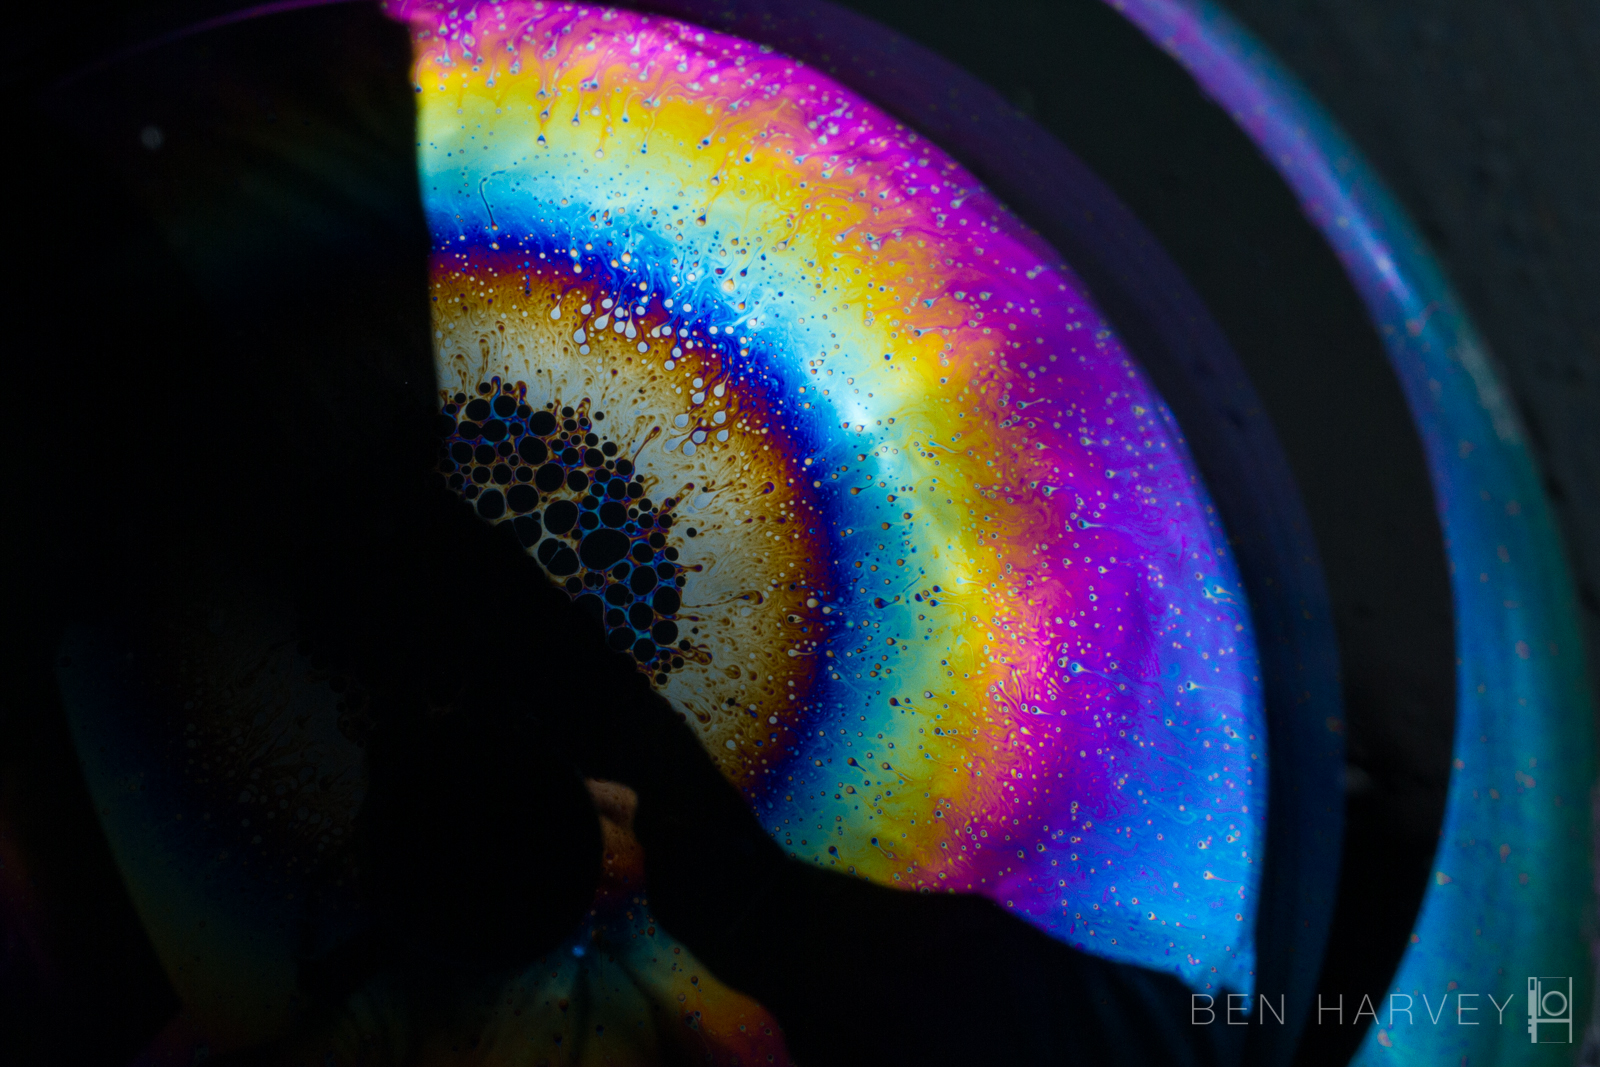
Where the colour is visible - you are seeing a reflection of the soft box
In order to create the domes, I simply blew a bubble onto the top of a glass and photographed it from the side. The two main differences between photographing a flat surface bubble and the dome is that the colours move and collect in a different way, and it is much more difficult to get all of the dome in focus.
Below is a selection of my favourite bubble photos from this project. I hope that you enjoyed reading my blog. Get in touch if you have any questions/comments. Ben